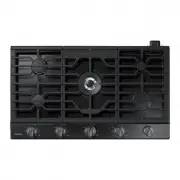
Samsung NZ3000 - Manuals
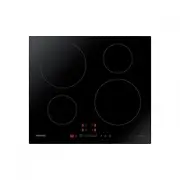
User Manual Samsung NZ3000
1

2

3

4

5

6

7

8

9

10

11

12

13

14

15

16

17

18

19

20

21

22

23

24

25

26

27

28

29

30

31

32

33

34

35

36

37

38

39

40

41

42

43

44

Summary
Page 5 - severe warNINg sIgNs for INsTallaTIoN
WARNING 2012-11-20 safety instructions _ 5 severe warNINg sIgNs for INsTallaTIoN WARNING safe T y IN s T ruCTIo N s
Page 10 - over without warning
over without warning 2012-11-20 10 _ safety instructions
Page 11 - CauTIoN sIgNs for usINg
CauTIoN sIgNs for usINg CAUTION 2012-11-20 safety instructions _ 11 safe T y IN s T ruCTIo N s
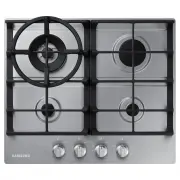
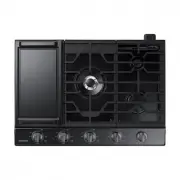
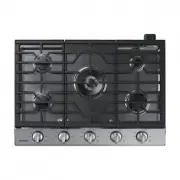
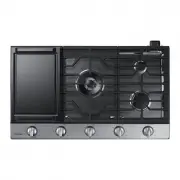
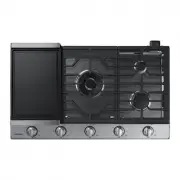
Samsung Hobs Manuals
-
 Samsung NA24T4230FS
User Manual
Samsung NA24T4230FS
User Manual
-
 Samsung NA30N6555TG
User Manual
Samsung NA30N6555TG
User Manual
-
 Samsung NA30N6555TG/AA
User Manual
Samsung NA30N6555TG/AA
User Manual
-
 Samsung NA30N6555TS
User Manual
Samsung NA30N6555TS
User Manual
-
Samsung NA30N6555TS/AA
User Manual
-
 Samsung NA30N7755TG
User Manual
Samsung NA30N7755TG
User Manual
-
 Samsung NA30N7755TG/AA
User Manual
Samsung NA30N7755TG/AA
User Manual
-
 Samsung NA30N7755TS
User Manual
Samsung NA30N7755TS
User Manual
-
Samsung NA30N7755TS/AA
User Manual
-
 Samsung NA30R5310FG
User Manual
Samsung NA30R5310FG
User Manual
-
 Samsung NA30R5310FG/AA
User Manual
Samsung NA30R5310FG/AA
User Manual
-
 Samsung NA30R5310FS
User Manual
Samsung NA30R5310FS
User Manual
-
Samsung NA30R5310FS/AA
User Manual
-
 Samsung NA36N6555TG
User Manual
Samsung NA36N6555TG
User Manual
-
Samsung NA36N6555TG/AA
User Manual
-
 Samsung NA36N6555TS
User Manual
Samsung NA36N6555TS
User Manual
-
Samsung NA36N6555TS/AA
User Manual
-
 Samsung NA36N7755TG
User Manual
Samsung NA36N7755TG
User Manual
-
Samsung NA36N7755TG/AA
User Manual
-
 Samsung NA36N7755TS
User Manual
Samsung NA36N7755TS
User Manual