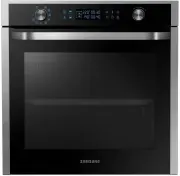
Samsung NV68A1110BS - Manuals
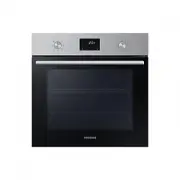
User Manual Samsung NV68A1110BS


Summary
2 English C ontents Contents Using this manual 3 The following symbols are used in this User Manual: 3 Safety instructions 3 Important safety precautions 3 Correct Disposal of This Product (Waste Electrical & Electronic Equipment) 6 Auto energy saving function 6 Installation 6 What’s included 6 ...
English 3 Using this manual Safety instructions Installation of this oven must be performed only by a licensed electrician. The installer is responsible for connecting the appliance to the mains power supply in observance of the relevant safety recommendations. Important safety precautions This appl...
6 English Installation Safety instructions Correct Disposal of This Product (Waste Electrical & Electronic Equipment) (Applicable in countries with separate collection systems) This marking on the product, accessories or literature indicates that the product and its electronic accessories (e.g. ...
Samsung Ovens Manuals
-
 Samsung NE63T8951SS
User Manual
Samsung NE63T8951SS
User Manual
-
 Samsung NQ50J5530BS
User Manual
Samsung NQ50J5530BS
User Manual
-
 Samsung NQ50J9530BS
User Manual
Samsung NQ50J9530BS
User Manual
-
 Samsung NQ70CB700D12
User Manual
Samsung NQ70CB700D12
User Manual
-
 Samsung NQ70CG600DSR
User Manual
Samsung NQ70CG600DSR
User Manual
-
 Samsung NQ70CG700DMT
User Manual
Samsung NQ70CG700DMT
User Manual
-
 Samsung NV51CB700S12
User Manual
Samsung NV51CB700S12
User Manual
-
 Samsung NV51CG600SMT
User Manual
Samsung NV51CG600SMT
User Manual
-
 Samsung NV51CG600SSR
User Manual
Samsung NV51CG600SSR
User Manual
-
 Samsung NV51CG700SMT
User Manual
Samsung NV51CG700SMT
User Manual
-
 Samsung NV51CG700SSR
User Manual
Samsung NV51CG700SSR
User Manual
-
 Samsung NV51K6650DS
User Manual
Samsung NV51K6650DS
User Manual
-
 Samsung NV51K7770DS
User Manual
Samsung NV51K7770DS
User Manual
-
 Samsung NV51T5511DS
User Manual
Samsung NV51T5511DS
User Manual
-
 Samsung NV75J5540RS
User Manual
Samsung NV75J5540RS
User Manual
-
 Samsung NX58M6850SG
User Manual
Samsung NX58M6850SG
User Manual
-
 Samsung NX58M6850SS
User Manual
Samsung NX58M6850SS
User Manual
-
 Samsung NX60A6751SG
User Manual
Samsung NX60A6751SG
User Manual
-
 Samsung NX60A6751SS
User Manual
Samsung NX60A6751SS
User Manual
-
 Samsung NX60T8751SG
User Manual
Samsung NX60T8751SG
User Manual