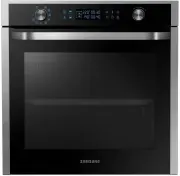
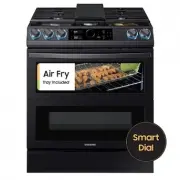
Samsung NQ50T9939BD - Manuals
Samsung NQ50T9939BD Oven – User Manual in PDF format online.
Manuals:
User Manual Samsung NQ50T9939BD


Summary
2 English C ontents Contents Using this manual 3 The following symbols are used in this user manual 3 Safety instructions 3 Important safety precautions 3 Correct Disposal of This Product (Waste Electrical & Electronic Equipment) 6 Installation 7 What’s included 7 Installation instructions 8 Ins...
English 3 Using this manual Using this manual Thank you for choosing SAMSUNG Built-In Oven.This User Manual contains important information on safety and instructions intended to assist you in the operation and maintenance of your appliance.Please take the time to read this User Manual before using y...
English 7 Installation Accessories The oven comes with different accessories that help you prepare different types of food. Baking trays Oven rack Steam dish NOTE See the Cooking Smart on page 26 to determine the appropriate accessory for your dishes. Installation What’s included Make sure all parts...
Samsung Ovens Manuals
-
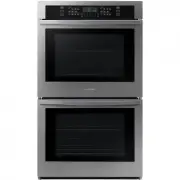
 Samsung NE63T8951SS
User Manual
Samsung NE63T8951SS
User Manual
-
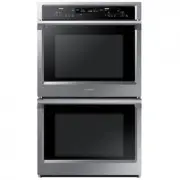
 Samsung NQ50J5530BS
User Manual
Samsung NQ50J5530BS
User Manual
-
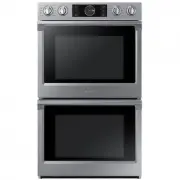
 Samsung NQ50J9530BS
User Manual
Samsung NQ50J9530BS
User Manual
-
 Samsung NQ70CB700D12
User Manual
Samsung NQ70CB700D12
User Manual
-
 Samsung NQ70CG600DSR
User Manual
Samsung NQ70CG600DSR
User Manual
-
 Samsung NQ70CG700DMT
User Manual
Samsung NQ70CG700DMT
User Manual
-
 Samsung NV51CB700S12
User Manual
Samsung NV51CB700S12
User Manual
-
 Samsung NV51CG600SMT
User Manual
Samsung NV51CG600SMT
User Manual
-
 Samsung NV51CG600SSR
User Manual
Samsung NV51CG600SSR
User Manual
-
 Samsung NV51CG700SMT
User Manual
Samsung NV51CG700SMT
User Manual
-
 Samsung NV51CG700SSR
User Manual
Samsung NV51CG700SSR
User Manual
-
 Samsung NV51K6650DS
User Manual
Samsung NV51K6650DS
User Manual
-
 Samsung NV51K7770DS
User Manual
Samsung NV51K7770DS
User Manual
-
 Samsung NV51T5511DS
User Manual
Samsung NV51T5511DS
User Manual
-
 Samsung NV75J5540RS
User Manual
Samsung NV75J5540RS
User Manual
-
 Samsung NX58M6850SG
User Manual
Samsung NX58M6850SG
User Manual
-
 Samsung NX58M6850SS
User Manual
Samsung NX58M6850SS
User Manual
-
 Samsung NX60A6751SG
User Manual
Samsung NX60A6751SG
User Manual
-
 Samsung NX60A6751SS
User Manual
Samsung NX60A6751SS
User Manual
-
 Samsung NX60T8751SG
User Manual
Samsung NX60T8751SG
User Manual