Samsung NQ50T9539BD - Manuals
Samsung NQ50T9539BD Oven – User Manual in PDF format online.
Manuals:
User Manual Samsung NQ50T9539BD


Summary
2 English C ontents Contents Safety instructions 3 Important safety instructions 3 Correct Disposal of This Product (Waste Electrical & Electronic Equipment) 9 Installation 10 What’s included 10 Installation instructions 11 Install in the cabinet 11 Before you start 14 Control panel 14 Initial s...
English 3 Safety ins truc tions Safety instructions IMPORTANT SAFETY INSTRUCTIONS READ CAREFULLY AND KEEP FOR FUTURE REFERENCE. WARNING : If the door or door seals are damaged, the oven must not be operated until it has been repaired by a competent person. WARNING : It is hazardous for anyone other ...
English 5 Safety ins truc tions WARNING : When the appliance is operated in the combination mode, children should only use the oven under adult supervision due to the temperatures generated.During use the appliance becomes hot. Care should be taken to avoid touching heating elements inside the oven....
Samsung Ovens Manuals
-
 Samsung NE63T8951SS
User Manual
Samsung NE63T8951SS
User Manual
-
 Samsung NQ50J5530BS
User Manual
Samsung NQ50J5530BS
User Manual
-
 Samsung NQ50J9530BS
User Manual
Samsung NQ50J9530BS
User Manual
-
 Samsung NQ70CB700D12
User Manual
Samsung NQ70CB700D12
User Manual
-
 Samsung NQ70CG600DSR
User Manual
Samsung NQ70CG600DSR
User Manual
-
 Samsung NQ70CG700DMT
User Manual
Samsung NQ70CG700DMT
User Manual
-
 Samsung NV51CB700S12
User Manual
Samsung NV51CB700S12
User Manual
-
 Samsung NV51CG600SMT
User Manual
Samsung NV51CG600SMT
User Manual
-
 Samsung NV51CG600SSR
User Manual
Samsung NV51CG600SSR
User Manual
-
 Samsung NV51CG700SMT
User Manual
Samsung NV51CG700SMT
User Manual
-
 Samsung NV51CG700SSR
User Manual
Samsung NV51CG700SSR
User Manual
-
 Samsung NV51K6650DS
User Manual
Samsung NV51K6650DS
User Manual
-
 Samsung NV51K7770DS
User Manual
Samsung NV51K7770DS
User Manual
-
 Samsung NV51T5511DS
User Manual
Samsung NV51T5511DS
User Manual
-
 Samsung NV75J5540RS
User Manual
Samsung NV75J5540RS
User Manual
-
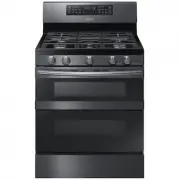 Samsung NX58M6850SG
User Manual
Samsung NX58M6850SG
User Manual
-
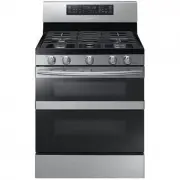 Samsung NX58M6850SS
User Manual
Samsung NX58M6850SS
User Manual
-
 Samsung NX60A6751SG
User Manual
Samsung NX60A6751SG
User Manual
-
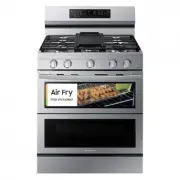 Samsung NX60A6751SS
User Manual
Samsung NX60A6751SS
User Manual
-
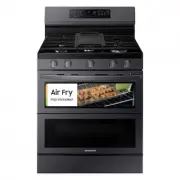
 Samsung NX60T8751SG
User Manual
Samsung NX60T8751SG
User Manual