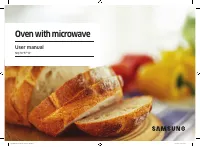
Samsung NQ50H5537KB/EU - Manuals
User Manual Samsung NQ50H5537KB/EU


Summary
English - 2 contents SAFETY INFORMATION 3 3 Safety Information OVEN FEATURES 18 18 Control panel 19 Oven 20 Accessories BEFORE YOU START 21 21 Clock settings 22 Setting the energy save mode 22 Turning the beeper on/off OVEN USE 23 23 Types of heating 24 How a microwave oven works 25 Using the microw...
safety information USING THIS INSTRUCTION BOOKLET You have just purchased a SAMSUNG microwave oven. Your Owner’s Instructions contains valuable information on cooking with your microwave oven: • Safety precautions• Suitable accessories and cookware• Useful cooking tips• Cooking tips LEGEND FOR SYMBO...
Do not use harsh abrasive cleaners or sharp metal scrapers to clean the oven door glass since they can scratch the surface, which may result in shattering of the glass.The temperature of accessible surfaces may be high when the appliance is operating.The door or the outer surface may get hot when th...
Samsung Ovens Manuals
-
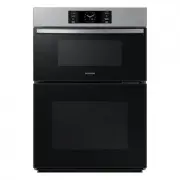
 Samsung NE63T8951SS
User Manual
Samsung NE63T8951SS
User Manual
-
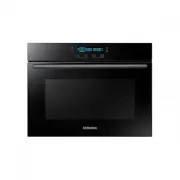
 Samsung NQ50J5530BS
User Manual
Samsung NQ50J5530BS
User Manual
-
 Samsung NQ50J9530BS
User Manual
Samsung NQ50J9530BS
User Manual
-
 Samsung NQ70CB700D12
User Manual
Samsung NQ70CB700D12
User Manual
-
 Samsung NQ70CG600DMT
User Manual
Samsung NQ70CG600DMT
User Manual
-
 Samsung NQ70CG600DSR
User Manual
Samsung NQ70CG600DSR
User Manual
-
 Samsung NQ70CG700DMT
User Manual
Samsung NQ70CG700DMT
User Manual
-
 Samsung NQ70CG700DSR
User Manual
Samsung NQ70CG700DSR
User Manual
-
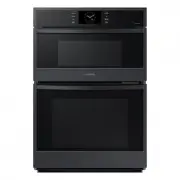
 Samsung NQ70T5511DG/AA
User Manual
Samsung NQ70T5511DG/AA
User Manual
-
Samsung NQ70T5511DS/AA
User Manual
-
 Samsung NV51CB700D12
User Manual
Samsung NV51CB700D12
User Manual
-
 Samsung NV51CB700S12
User Manual
Samsung NV51CB700S12
User Manual
-
 Samsung NV51CG600DMT
User Manual
Samsung NV51CG600DMT
User Manual
-
 Samsung NV51CG600DSR
User Manual
Samsung NV51CG600DSR
User Manual
-
 Samsung NV51CG600SMT
User Manual
Samsung NV51CG600SMT
User Manual
-
 Samsung NV51CG600SSR
User Manual
Samsung NV51CG600SSR
User Manual
-
 Samsung NV51CG700DMT
User Manual
Samsung NV51CG700DMT
User Manual
-
 Samsung NV51CG700DSR
User Manual
Samsung NV51CG700DSR
User Manual
-
 Samsung NV51CG700SMT
User Manual
Samsung NV51CG700SMT
User Manual
-
 Samsung NV51CG700SSR
User Manual
Samsung NV51CG700SSR
User Manual