Ryobi HJP002- Manuals
Ryobi HJP002– User Manual in PDF format online.
Manuals:
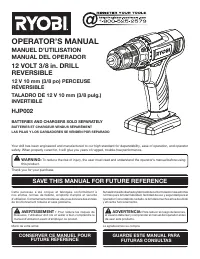
User Manual Ryobi HJP002


Summary
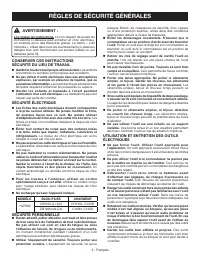
3 - English gENERAL SAFETy RULES WARNINg: Read all instructions. Failure to follow all instructions listed below may result in electric shock, fire and/or serious injury. The term “power tool” in all of the warnings listed below refers to your mains-operated (corded) power tool or battery-operated (...
4 - English gENERAL SAFETy RULES SPEcIFIc SAFETy RULES BATTERy TOOL USE AND cARE Ensure the switch is in the off position before inserting battery pack. Inserting the battery pack into power tools that have the switch on invites accidents. Recharge only with the charger specified by the manufact...
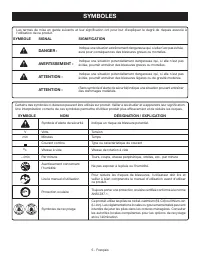
5 - English SyMBOLS Some of the following symbols may be used on this product. Please study them and learn their meaning. Proper interpretation of these symbols will allow you to operate the product better and safer. SyMBOL NAME DESIgNATION/EXPLANATION Safety Alert Indicates a potential personal inj...
Ryobi Manuals
-
 Ryobi SS630
User Manual
Ryobi SS630
User Manual
-
 Ryobi 18A-C06-734
User Manual
Ryobi 18A-C06-734
User Manual
-
 Ryobi 21AB454B734
User Manual
Ryobi 21AB454B734
User Manual
-
 Ryobi 41CD875A034
User Manual
Ryobi 41CD875A034
User Manual
-
 Ryobi 767R
User Manual
Ryobi 767R
User Manual
-
Ryobi 767R
Manual
-
 Ryobi 2079R
User Manual
Ryobi 2079R
User Manual
-
Ryobi 2079R
Manual
-
 Ryobi 725R
User Manual
Ryobi 725R
User Manual
-
Ryobi 725R
Manual
-
 Ryobi 890R
User Manual
Ryobi 890R
User Manual
-
Ryobi 890R
Manual
-
 Ryobi 825R
User Manual
Ryobi 825R
User Manual
-
Ryobi 825R
Manual
-
Ryobi 875R
User Manual
-
Ryobi 875R
Manual
-
Ryobi 775R
User Manual
-
Ryobi 775R
Manual
-
Ryobi 41CD825A034
User Manual
-
 Ryobi 96116000202
User Manual
Ryobi 96116000202
User Manual