Rinnai PEPH10PEW - Manuals

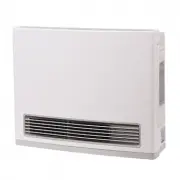
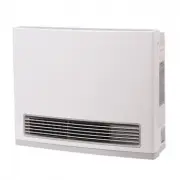
User Manual Rinnai PEPH10PEW


Summary
Rinnai 2 PEPH_OIM BEFORE PROCEEDING WITH THE OPERATION OR INSTALLATION OF YOUR NEW HEATER PLEASE READ THIS MANUAL THOROUGHLY AND GAIN A FULL UNDERSTANDING OF THE REQUIREMENTS, FEATURES AND OPERATION OF YOUR NEW APPLIANCE.
Rinnai 3 PEPH_OIM WARRANTY, FEATURES & SPECIFICATIONS ................................................................................5 WARRANTY ..................................................................................................................................................... 5...
Rinnai 5 PEPH_OIM WARRANTY, FEATURES & SPECIFICATIONS WARRANTY The benefits to the consumer given by this warranty are in addition to all other rights and remedies of the consumerunder a law in relation to the goods or services to which the warranty relates. Our goods come with guarantees that c...
Rinnai Heaters Manuals
-
 Rinnai 252SL2
User Manual
Rinnai 252SL2
User Manual
-
 Rinnai EX08DTN
User Manual
Rinnai EX08DTN
User Manual
-
 Rinnai EX08DTP
User Manual
Rinnai EX08DTP
User Manual
-
Rinnai EX11DTN
User Manual
-
 Rinnai EX11DTP
User Manual
Rinnai EX11DTP
User Manual
-
 Rinnai EX17DTN
User Manual
Rinnai EX17DTN
User Manual
-
 Rinnai EX17DTP
User Manual
Rinnai EX17DTP
User Manual
-
Rinnai EX22DTN
User Manual
-
 Rinnai EX22DTP
User Manual
Rinnai EX22DTP
User Manual
-
 Rinnai EX22DTWN
User Manual
Rinnai EX22DTWN
User Manual
-
Rinnai EX22DTWP
User Manual
-
Rinnai EX38DTN
User Manual
-
 Rinnai EX38DTP
User Manual
Rinnai EX38DTP
User Manual
-
Rinnai EX38DTWN
User Manual
-
Rinnai EX38DTWP
User Manual
-
 Rinnai FC510N
User Manual
Rinnai FC510N
User Manual
-
 Rinnai FC510P
User Manual
Rinnai FC510P
User Manual
-
 Rinnai FC824N
User Manual
Rinnai FC824N
User Manual
-
 Rinnai FC824P
User Manual
Rinnai FC824P
User Manual
-
 Rinnai PEPH15PEW
User Manual
Rinnai PEPH15PEW
User Manual