Raypak RAY014779 - Manuals
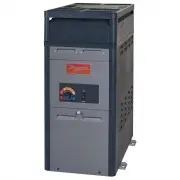
User Manual Raypak RAY014779


Summary
3 CONTENTS 1. WARNINGS ................................................................... 4 1.1. Pay Attention to These Terms .............................. 4 2. WATER CHEMISTRY ................................................... 5 2.1. Automatic Chlorinators and Chemical Feeders......................
4 A A DANGER: Failure to install the drafthood on indoor installation and properly vent the heater to the outdoors as outlined in the venting section of this manual can result in unsafe operation of the heater. To avoid the risk of fire, explosion, or asphyxiation from carbon monoxide, never operate...
5 2. WATER CHEMISTRY NOTE: Corrosive water voids all warranties. Chemical imbalance can cause severe damage to your heater and associated equipment. Maintain your water chemistry according to Table A. If the mineral content and dissolved solids in the water become too high, scale forms inside the he...
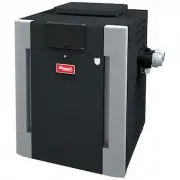
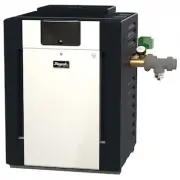
Raypak Heaters Manuals
-
 Raypak 9192
User Manual
Raypak 9192
User Manual
-
 Raypak 9193
User Manual
Raypak 9193
User Manual
-
Raypak 9194
User Manual
-
 Raypak 9195
User Manual
Raypak 9195
User Manual
-
 Raypak 9200
User Manual
Raypak 9200
User Manual
-
Raypak 9201
User Manual
-
Raypak 9202
User Manual
-
Raypak 9203
User Manual
-
Raypak 9216
User Manual
-
Raypak 9217
User Manual
-
Raypak 9218
User Manual
-
Raypak 9219
User Manual
-
 Raypak 9220
User Manual
Raypak 9220
User Manual
-
Raypak 9222
User Manual
-
Raypak 9224
User Manual
-
Raypak 9225
User Manual
-
Raypak 9226
User Manual
-
Raypak 9227
User Manual
-
 Raypak 9243
User Manual
Raypak 9243
User Manual
-
 Raypak 13731
User Manual
Raypak 13731
User Manual