Ramsond RHDZ-27-18CT/18WM - Manuals

User Manual Ramsond RHDZ-27-18CT/18WM


Summary
PRECAUTIONS INSTALLATION INFORMATION ACCESSORIES INDOOR UNIT INSTALLATION OUTDOOR UNIT INSTALLATION INSTALL ING THE REFRIGERANT PIPE CONNECT ING THE DRAIN PIPE ELECTRIC WIRING WORK INSTALLATION OF THE DECORATION PANEL TEST OPERATION ..................................................... ........ .. ....
2 Indoor unit installation Outdoor unit installation Install the refrigerant pipe Connect the drain pipe Electric wiring work Installation of the decoration panel Test operation If the refrigerant leaks during installation, ventilate the area immediately. Toxic gas may be produced if the refrigerant...
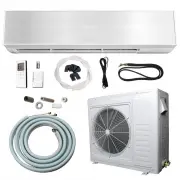
Optional accessories This indoor unit requires installation of an optional decoration panel. ACCESSORIES Ensure that the following accessories are included with your unit : All the pictures in this manual are for explanation purpose s only. The y may be slightly different from the air conditioner yo...
Ramsond Air Conditioners Manuals
-
 Ramsond 101GWi
User Manual
Ramsond 101GWi
User Manual
-
 Ramsond 27GW2
User Manual
Ramsond 27GW2
User Manual
-
 Ramsond 27SEG
User Manual
Ramsond 27SEG
User Manual
-
 Ramsond 37GW2
User Manual
Ramsond 37GW2
User Manual
-
 Ramsond 37GWi
User Manual
Ramsond 37GWi
User Manual
-
 Ramsond 37GWX
User Manual
Ramsond 37GWX
User Manual
-
 Ramsond 37SEG
User Manual
Ramsond 37SEG
User Manual
-
 Ramsond 55GWi
User Manual
Ramsond 55GWi
User Manual
-
 Ramsond 74GW2
User Manual
Ramsond 74GW2
User Manual
-
 Ramsond 74GWi
User Manual
Ramsond 74GWi
User Manual
-
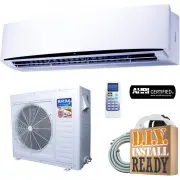
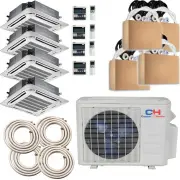
 Ramsond CH09/09/09/09/09MSPHCT230VI-CH48MSPH230V
User Manual
Ramsond CH09/09/09/09/09MSPHCT230VI-CH48MSPH230V
User Manual
-
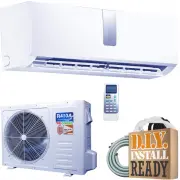
 Ramsond CH09/09/09/09/09MSPHWM230VI-CH48MSPH230V
User Manual
Ramsond CH09/09/09/09/09MSPHWM230VI-CH48MSPH230V
User Manual
-
 Ramsond CH09/09/09/09/MSPHCT230VI-CH36MSPH230VOA
User Manual
Ramsond CH09/09/09/09/MSPHCT230VI-CH36MSPH230VOA
User Manual
-
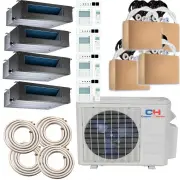 Ramsond CH09/09/09/09MSPHDT230VI-CH36MSPH230VOA
User Manual
Ramsond CH09/09/09/09MSPHDT230VI-CH36MSPH230VOA
User Manual
-
 Ramsond CH09/09/09/09MSPHWM230VI-CH36MSPH230VOA
User Manual
Ramsond CH09/09/09/09MSPHWM230VI-CH36MSPH230VOA
User Manual
-
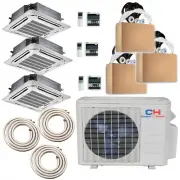 Ramsond CH09/09/09MSPHCT230VI-CH27MSPH230VOA
User Manual
Ramsond CH09/09/09MSPHCT230VI-CH27MSPH230VOA
User Manual
-
 Ramsond CH09/09/09MSPHDT230VI-CH27MSPH230VOA
User Manual
Ramsond CH09/09/09MSPHDT230VI-CH27MSPH230VOA
User Manual
-
 Ramsond CH09/09/09MSPHWM230VI-CH27MSPH230VOA
User Manual
Ramsond CH09/09/09MSPHWM230VI-CH27MSPH230VOA
User Manual
-
 Ramsond CH09/09MSPHCT230VI-CH18MSPH230VOA
User Manual
Ramsond CH09/09MSPHCT230VI-CH18MSPH230VOA
User Manual
-
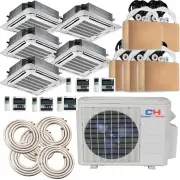
 Ramsond RH5Z-48-5X12WM
User Manual
Ramsond RH5Z-48-5X12WM
User Manual