Premier ECS2X0OP - Manuals
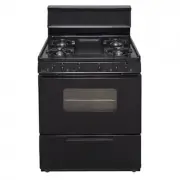
User Manual Premier ECS2X0OP


Summary
IMPORTANT SAFETY INSTRUCTIONS WARNING: READ ALL INSTRUCTIONS BEFORE USING THIS APPLIANCE WARNING: If the information in this manual is not followed exactly, a fire, electrical shock or explosion may result causing property damages, personal injury or death. Use this appliance only for its intended u...
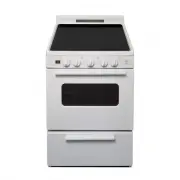
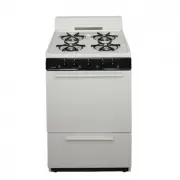
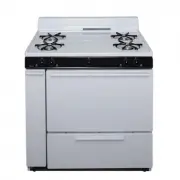
Surface Cooking Controls Each of the range burners has an ”Infinite Control” switch that allows you to choose just the right temperature for cooking any food. The switches can be set at the numbers or any point in between. To operate, push the knob in and turn to the desired setting. Set most cookin...
A ceramic glass cooktop uses radiant surface elements. The cookware should be sized to the burner outline on the glass surface as much as possible. Although most of the heat is directed up into the defined area, the number of the burners used and the size of the cookware may lead to the whole surfac...
Premier Ranges Manuals
-
 Premier BAK100BP
User Manual
Premier BAK100BP
User Manual
-
 Premier BAK100OP
User Manual
Premier BAK100OP
User Manual
-
 Premier BAK100TP
User Manual
Premier BAK100TP
User Manual
-
 Premier BCK100BP
User Manual
Premier BCK100BP
User Manual
-
 Premier BCK100OP
User Manual
Premier BCK100OP
User Manual
-
 Premier BCK100TP
User Manual
Premier BCK100TP
User Manual
-
 Premier BFK100BP
User Manual
Premier BFK100BP
User Manual
-
 Premier BFK100OP
User Manual
Premier BFK100OP
User Manual
-
 Premier BFK100TP
User Manual
Premier BFK100TP
User Manual
-
 Premier BFK5S9BP
User Manual
Premier BFK5S9BP
User Manual
-
 Premier BFK5S9TP
User Manual
Premier BFK5S9TP
User Manual
-
 Premier BFK5S9WP
User Manual
Premier BFK5S9WP
User Manual
-
 Premier BHK5X0BP
User Manual
Premier BHK5X0BP
User Manual
-
 Premier BHK5X0OP
User Manual
Premier BHK5X0OP
User Manual
-
 Premier BJK5X0BP
User Manual
Premier BJK5X0BP
User Manual
-
 Premier BJK5X0OP
User Manual
Premier BJK5X0OP
User Manual
-
 Premier BLK100BP
User Manual
Premier BLK100BP
User Manual
-
 Premier BLK100WP
User Manual
Premier BLK100WP
User Manual
-
 Premier BLK5S9BP
User Manual
Premier BLK5S9BP
User Manual
-
 Premier BLK5S9TP
User Manual
Premier BLK5S9TP
User Manual