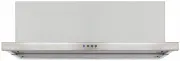
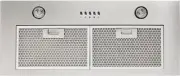
Omega ORS6WXA - Manuals
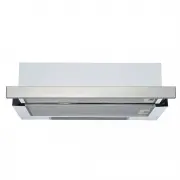
User Manual Omega ORS6WXA


Summary
Thank you for introducing our family to yours At Omega, we understand that cooking, cleaning and washing may not be your favourite things in the world. That's why we created a range of no-nonsense, reliable products that always get the job done for you. With the features you need and nothing you don...
INSTALLATION, OPERATION AND MAINTENANCE INSTRUCTIONS FOR OMEGA RANGE HOODS O RS WXA CONTENTS SECTION PAGE NO. Important Safety Instructions……………… 3 Appliance Details ………………………… 4 General Information …………………….. 4 What Is Supplied ………….……………… 4 What May Be Needed For Installation … 4 Installation Inst...
IMPORTANT SAFETY INSTRUCTIONS IMPORTANT: Read the assembly instruction section and safety precautions of this booklet carefully before removing the contents of this carton. 1. In certain circumstances electrical appliances may be a safety hazard. 2. This appliance is not intended for use by persons ...
Omega Range Hoods Manuals
-
 Omega OA41260FRWSS
User Manual
Omega OA41260FRWSS
User Manual
-
 Omega OA41290FRWSS
User Manual
Omega OA41290FRWSS
User Manual
-
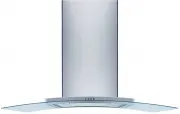
 Omega OR914CXA
User Manual
Omega OR914CXA
User Manual
-
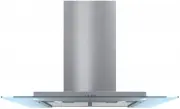
 Omega ORC93XA
User Manual
Omega ORC93XA
User Manual
-
 Omega ORC94XBA
User Manual
Omega ORC94XBA
User Manual
-
 Omega ORC97G
User Manual
Omega ORC97G
User Manual
-
 Omega ORC98G
User Manual
Omega ORC98G
User Manual
-
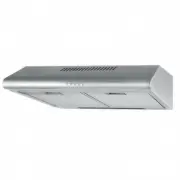 Omega ORF60X
User Manual
Omega ORF60X
User Manual
-
 Omega ORF60XL
User Manual
Omega ORF60XL
User Manual
-
 Omega ORF90X
User Manual
Omega ORF90X
User Manual
-
 Omega ORF90XL
User Manual
Omega ORF90XL
User Manual
-
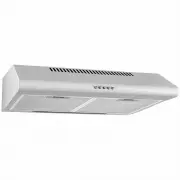
 Omega ORT60X
User Manual
Omega ORT60X
User Manual
-
 Omega ORT6WXA
User Manual
Omega ORT6WXA
User Manual
-
 Omega ORT90X
User Manual
Omega ORT90X
User Manual
-
 Omega ORT9WXA
User Manual
Omega ORT9WXA
User Manual
-
 Omega ORU50X
User Manual
Omega ORU50X
User Manual
-
 Omega ORU50XL
User Manual
Omega ORU50XL
User Manual
-
 Omega ORU52X
User Manual
Omega ORU52X
User Manual
-
 Omega ORU70X
User Manual
Omega ORU70X
User Manual
-
 Omega ORU70XL
User Manual
Omega ORU70XL
User Manual