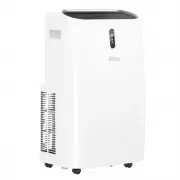
Omega Altise OAPC127 - Manuals
User Manual Omega Altise OAPC127


Summary
2 Table of Contents Table of Contents.......................................................................... 2 Important Safeguards ................................................................... 3-4 Placement and Installation ............................................................ 5-6 P...
3 Important Safeguards Please read this manual Inside you will find many helpful hints on how to use and maintain your unit properly. Just a little preventative care on your part can save you a great deal of time and money over the life of your unit. You will find many answers to common problems ins...
4 • Always contact an authorized qualified service agent to carry out repairs. • If the supply cord is damaged it must be repaired by a qualified repairer • Keep the area clear around the unit. There needs to be an air path of a Minimum of 50cm all around the unit from walls, furniture and curtains....
Omega Altise Air Conditioners Manuals
-
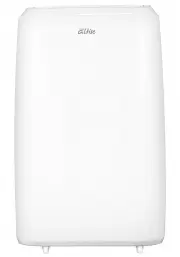
 Omega Altise OAPC10
User Manual
Omega Altise OAPC10
User Manual
-
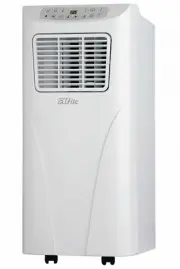
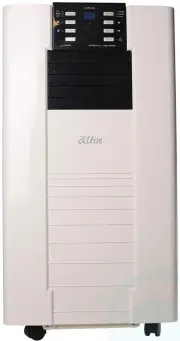
 Omega Altise OAPC1213
User Manual
Omega Altise OAPC1213
User Manual
-
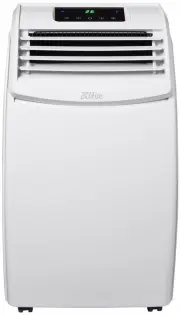
 Omega Altise OAPC1413
User Manual
Omega Altise OAPC1413
User Manual
-
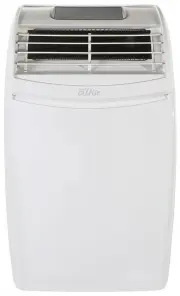
 Omega Altise OAPC14W
User Manual
Omega Altise OAPC14W
User Manual
-
 Omega Altise OAPC16
User Manual
Omega Altise OAPC16
User Manual
-
 Omega Altise OAPC1617
User Manual
Omega Altise OAPC1617
User Manual
-
 Omega Altise OAPC187
User Manual
Omega Altise OAPC187
User Manual
-
 Omega Altise OAPC36RW
User Manual
Omega Altise OAPC36RW
User Manual
-
 Omega Altise OAPC41W
User Manual
Omega Altise OAPC41W
User Manual
-
 Omega Altise OAPC9W
User Manual
Omega Altise OAPC9W
User Manual