Omega Altise OAGCH25LPG - Manuals
User Manual Omega Altise OAGCH25LPG


Summary
7 OPERATING INSTRUCTIONS TURNING ON THE HEATER After the gas and power have been connected and the heater turns to standby mode, press the ON/OFF button to turn on the heater. Press the ON/OFF button again to turn off the heater after use. The fan may keep cycling for 3 minutes until cooled down. DO...
8 OPERATING INSTRUCTIONS ON TIMER FUNCTION With the heater in standby mode, press the ON Timer button , the ON Timer indicator icon lights up, and timer indicator shows “00:00”, and the hour clock indicator will flash. Press or buttons to set the hour portion of the clock. Each press of the “UP” or ...
9 MAINTENANCE The heater needs maintenance, and the following information will help you to keep it looking good and workingefficiently. It is recommended that this appliance be inspected and serviced every year. Particular attention should be placed on inspection and cleaning of the rear air filter....
Omega Altise Heaters Manuals
-
 Omega Altise AALTURASB
User Manual
Omega Altise AALTURASB
User Manual
-
 Omega Altise ACUBOB
User Manual
Omega Altise ACUBOB
User Manual
-
 Omega Altise ANPE1500W
User Manual
Omega Altise ANPE1500W
User Manual
-
 Omega Altise ANPE2400W
User Manual
Omega Altise ANPE2400W
User Manual
-
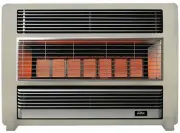
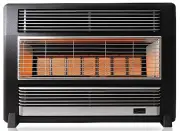 Omega Altise BRFLPBM
User Manual
Omega Altise BRFLPBM
User Manual
-
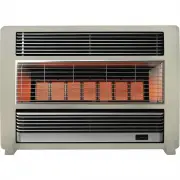 Omega Altise BRFLPSD
User Manual
Omega Altise BRFLPSD
User Manual
-
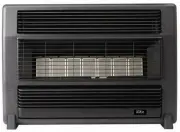
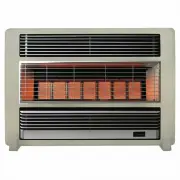 Omega Altise BRFNGSD
User Manual
Omega Altise BRFNGSD
User Manual
-
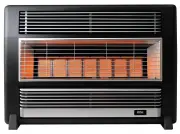 Omega Altise OABRFLPBM
User Manual
Omega Altise OABRFLPBM
User Manual
-
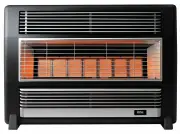
 Omega Altise OABRFLPSD
User Manual
Omega Altise OABRFLPSD
User Manual
-
 Omega Altise OABRFNGBM
User Manual
Omega Altise OABRFNGBM
User Manual
-
 Omega Altise OABRFNGSD
User Manual
Omega Altise OABRFNGSD
User Manual
-
 Omega Altise OABRFNGSS
User Manual
Omega Altise OABRFNGSS
User Manual
-
 Omega Altise OACH15KWR
User Manual
Omega Altise OACH15KWR
User Manual
-
 Omega Altise OACHB24W
User Manual
Omega Altise OACHB24W
User Manual
-
 Omega Altise OACHM15B
User Manual
Omega Altise OACHM15B
User Manual
-
 Omega Altise OACHM15W
User Manual
Omega Altise OACHM15W
User Manual
-
 Omega Altise OACHT2000
User Manual
Omega Altise OACHT2000
User Manual
-
 Omega Altise OAFH2000W
User Manual
Omega Altise OAFH2000W
User Manual
-
 Omega Altise OAFH2KW
User Manual
Omega Altise OAFH2KW
User Manual
-
 Omega Altise OAGCH15LPG
User Manual
Omega Altise OAGCH15LPG
User Manual