Midea MWA05CM71 - Manuals
User Manual Midea MWA05CM71


Summary
Page 2 Read This Manual Inside you will find many helpful hints on how to use and maintain your air conditioner properly. Just a little preventive care on your part can save you a great deal of time and money over the life of your air conditioner. You’ll find many answers to common problems in t...
Page 3 Safety Precautions CAUTION WARNING Saf ety Precautions To prevent injury to the user or other people and property damage, the instructions shown here must be followed. Incorrect operation due to ignoring of instructions may cause harm or damage. The level of risk is shown by the following...
Page 4 WARNING • Do not direct airflow straight into people to avoid possible health hazard. • Always install a circuit breaker and a dedicated power circuit. Incorrect installation m ay cause fire and electric shock. • Do not open the unit during operation. It m ay cause electric shock. • Do no...
Midea Air Conditioners Manuals
-
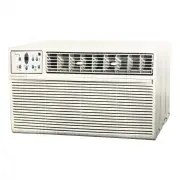
 Midea KAW10C1AWT
User Manual
Midea KAW10C1AWT
User Manual
-
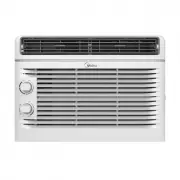 Midea MAW05M1YWT
User Manual
Midea MAW05M1YWT
User Manual
-
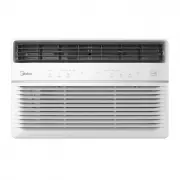 Midea MAW06R1YWT
User Manual
Midea MAW06R1YWT
User Manual
-
 Midea MAW08S1YWT
User Manual
Midea MAW08S1YWT
User Manual
-
 Midea MAW08V1QWT
User Manual
Midea MAW08V1QWT
User Manual
-
 Midea MAW10S1YWT
User Manual
Midea MAW10S1YWT
User Manual
-
 Midea MAW10V1QWT
User Manual
Midea MAW10V1QWT
User Manual
-
Midea MAW12S1YWT
User Manual
-
Midea MAW12V1QWT
User Manual
-
 Midea MIS26
User Manual
Midea MIS26
User Manual
-
 Midea MIS35
User Manual
Midea MIS35
User Manual
-
 Midea MIS50
User Manual
Midea MIS50
User Manual
-
 Midea MIS70
User Manual
Midea MIS70
User Manual
-
 Midea MIS80
User Manual
Midea MIS80
User Manual
-
 Midea MPPD16CRN1
User Manual
Midea MPPD16CRN1
User Manual
-
 Midea MSE28M4
User Manual
Midea MSE28M4
User Manual
-
 Midea MWA06CR71
User Manual
Midea MWA06CR71
User Manual
-
 Midea MWA10CR71
User Manual
Midea MWA10CR71
User Manual
-
 Midea MWA12CR71
User Manual
Midea MWA12CR71
User Manual
-
 Midea MWA25CR72
User Manual
Midea MWA25CR72
User Manual