Midea MPPD16CRN1 - Manuals
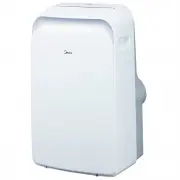
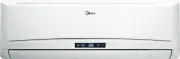
User Manual Midea MPPD16CRN1


Summary
Inside you will find many helpful hints on how to use and maintain your air conditionerproperly. Just a little preventive care on your part can save you a great deal of time and money over the life of your air conditioner. You'll find many answers to common problems in the chart of troubleshooting t...
CONTENTS SOCIABLE REMARK Sociable remark..................................................................................................................................2 1 SAFETY PRECAUTIONS Safety rules .................................................................................................
SOCIABLE REMARK DISPOSAL: Do not dispose this product as unsorted municipal waste. Collection of such waste separately for special treatment is necessary. It is prohibited to dispose of this appliance in domestic household waste.For disposal, there are several possibilities:A) The municipality has e...
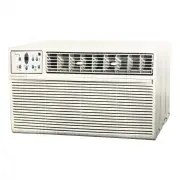
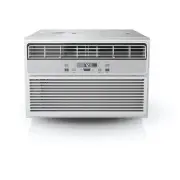
Midea Air Conditioners Manuals
-
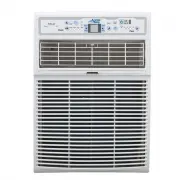 Midea KAW10C1AWT
User Manual
Midea KAW10C1AWT
User Manual
-
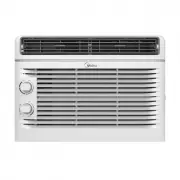 Midea MAW05M1YWT
User Manual
Midea MAW05M1YWT
User Manual
-
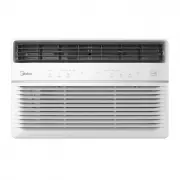 Midea MAW06R1YWT
User Manual
Midea MAW06R1YWT
User Manual
-
 Midea MAW08S1YWT
User Manual
Midea MAW08S1YWT
User Manual
-
 Midea MAW08V1QWT
User Manual
Midea MAW08V1QWT
User Manual
-
 Midea MAW10S1YWT
User Manual
Midea MAW10S1YWT
User Manual
-
 Midea MAW10V1QWT
User Manual
Midea MAW10V1QWT
User Manual
-
Midea MAW12S1YWT
User Manual
-
Midea MAW12V1QWT
User Manual
-
 Midea MIS26
User Manual
Midea MIS26
User Manual
-
 Midea MIS35
User Manual
Midea MIS35
User Manual
-
 Midea MIS50
User Manual
Midea MIS50
User Manual
-
 Midea MIS70
User Manual
Midea MIS70
User Manual
-
 Midea MIS80
User Manual
Midea MIS80
User Manual
-
 Midea MSE28M4
User Manual
Midea MSE28M4
User Manual
-
 Midea MWA05CM71
User Manual
Midea MWA05CM71
User Manual
-
 Midea MWA06CR71
User Manual
Midea MWA06CR71
User Manual
-
 Midea MWA10CR71
User Manual
Midea MWA10CR71
User Manual
-
 Midea MWA12CR71
User Manual
Midea MWA12CR71
User Manual
-
 Midea MWA25CR72
User Manual
Midea MWA25CR72
User Manual