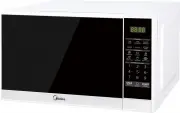
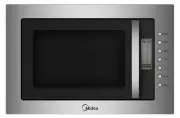
Midea MMWBI25B - Manuals
User Manual Midea MMWBI25B


Summary
(a) Do not attempt to operate this oven with the door o p e n s i n c e t h i s c a n r e s u l t i n h a r m f u l e x p o s u r e t o microwave energy. It is important not to break or tamper with the safety interlocks.(b) Do not place any object between the oven front face and the door or allow so...
READ CAREFULLY AND KEEP FOR FUTUREREFERENCE be taken to avoid touching heating elements inside the oven. 27. During use the appliance becomes hot. Care should 24. Steam cleaner is not to be used. 25. Surface of a storage drawer can get hot. 28. WARNING: Accessible parts may become hot during use. Yo...
CLEANING Be sure to unplug the appliance from the power supply.1. Clean the cavity of the oven after using with a slightly damp cloth. 2. Clean the accessories in the usual way in soapy water. 3. The door frame and seal and neighbouring parts must be cleaned carefully with a damp cloth when they are...
Midea Microwaves Manuals
-
 Midea 1025F0A
User Manual
Midea 1025F0A
User Manual
-
 Midea 1025F1A
User Manual
Midea 1025F1A
User Manual
-
 Midea 1034N0A
User Manual
Midea 1034N0A
User Manual
-
 Midea 1034N1A
User Manual
Midea 1034N1A
User Manual
-
 Midea MMC07S1ABB
User Manual
Midea MMC07S1ABB
User Manual
-
 Midea MMC07S1AWW
User Manual
Midea MMC07S1AWW
User Manual
-
 Midea MMW20S
User Manual
Midea MMW20S
User Manual
-
 Midea MMW20W
User Manual
Midea MMW20W
User Manual
-
 Midea MMW25S
User Manual
Midea MMW25S
User Manual
-
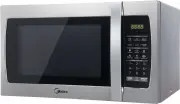
 Midea MMW34CS
User Manual
Midea MMW34CS
User Manual
-
 Midea MMW34S
User Manual
Midea MMW34S
User Manual
-
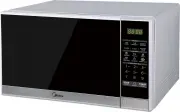
 Midea MMWBI25SS
User Manual
Midea MMWBI25SS
User Manual
-
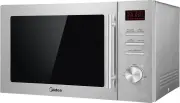
 Midea MMWV30B
User Manual
Midea MMWV30B
User Manual
-
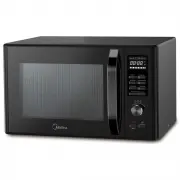
 Midea TG925B8D-BL
Manual
Midea TG925B8D-BL
Manual