Midea MFR411W - Manuals
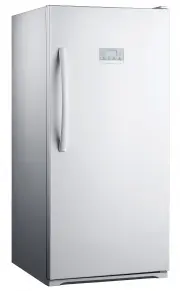
User Manual Midea MFR411W


Summary
CONTENTS 1 Safety Information Identifying Parts of the Freezer/Refrigerator Transporting Installation Control Features and Functions Cleaning & Maintenance Energy Saving Tips Disconnection of the Appliance Troubleshooting Guide Repairs, Service & Warranty Specifications .........................
SAFETY INFORMATION CAUTION WARNING Congratulations on your new eezer/refrigerator. This manual contains Midea dual function upright fr important information on the installation, use and care of your appliance. Please read this manual carefully before use. Follow instructions and keep the manual for ...
SAFETY INFORMATION 3 - The freezer/refrigerator is designed to operate on a single phase power supply within a voltage range of 230V/50Hz. - Do not allow any sharp objects to come in contact with the refrigerant system to avoid damage to the refrigerant circuit. - Keep ventilation openings, in the a...
Midea Freezers Manuals
-
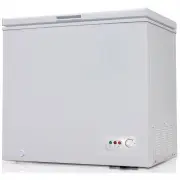
 Midea MCH142W
User Manual
Midea MCH142W
User Manual
-
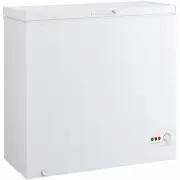
 Midea MCH198W
User Manual
Midea MCH198W
User Manual
-
 Midea MCH295W
User Manual
Midea MCH295W
User Manual
-
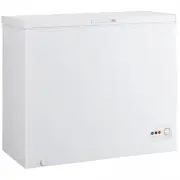
 Midea MCH415W
User Manual
Midea MCH415W
User Manual
-
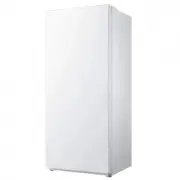
 Midea MF172W
User Manual
Midea MF172W
User Manual
-
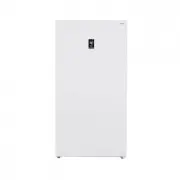
 Midea MF411W
User Manual
Midea MF411W
User Manual
-
 Midea MF92W
User Manual
Midea MF92W
User Manual
-
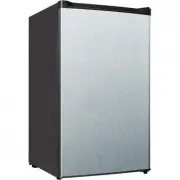
 Midea MRC04M3AWW
User Manual
Midea MRC04M3AWW
User Manual
-
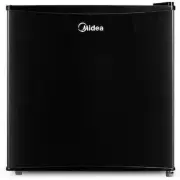 Midea MRU01M3ABB
User Manual
Midea MRU01M3ABB
User Manual
-
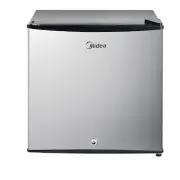 Midea MRU01M3ASL
User Manual
Midea MRU01M3ASL
User Manual
-
 Midea MRU05M2AWW
User Manual
Midea MRU05M2AWW
User Manual
-
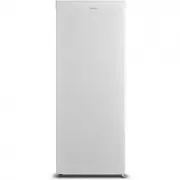
 Midea MRU14F2AWW
User Manual
Midea MRU14F2AWW
User Manual
-
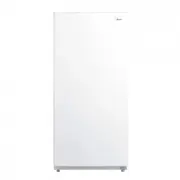
 Midea MRU17F6AWW
User Manual
Midea MRU17F6AWW
User Manual
-
 Midea MRU21F2AWW
User Manual
Midea MRU21F2AWW
User Manual
-
 Midea WHS-109FSS1
User Manual
Midea WHS-109FSS1
User Manual