Makita XDT131 - Manuals

User Manual Makita XDT131


Summary
2 ENGLISH ENGLISH (Original instructions) SPECIFICATIONS Model: XDT13 Fastening capacities Machine screw 4 mm - 8 mm (5/32" - 5/16") Standard bolt 5 mm - 16 mm (3/16" - 5/8") High tensile bolt 5 mm - 14 mm (3/16" - 9/16") No load speed (RPM) 0 - 3,400 /min Impacts per minute ...
3 ENGLISH 5. Do not overreach. Keep proper footing and balance at all times. This enables better control of the power tool in unexpected situations. 6. Dress properly. Do not wear loose clothing or jewellery. Keep your hair, clothing, and gloves away from moving parts. Loose clothes, jewel - lery or...
4 ENGLISH 3. If operating time has become excessively shorter, stop operating immediately. It may result in a risk of overheating, possible burns and even an explosion. 4. If electrolyte gets into your eyes, rinse them out with clear water and seek medical attention right away. It may result in loss...
Makita Impact Drivers Manuals
-
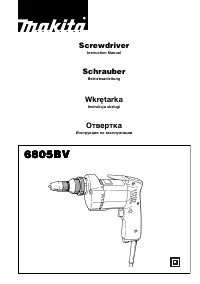 Makita 6805BV
User Manual
Makita 6805BV
User Manual
-
Makita 6805BV
Manual
-
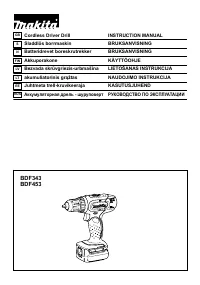 Makita BDF453SHE
User Manual
Makita BDF453SHE
User Manual
-
 Makita BTP141Z
User Manual
Makita BTP141Z
User Manual
-
 Makita DA3010F
User Manual
Makita DA3010F
User Manual
-
Makita DA3010F
Manual
-
 Makita DA3011F
User Manual
Makita DA3011F
User Manual
-
Makita DA3011F
Manual
-
 Makita DDA351Z
User Manual
Makita DDA351Z
User Manual
-
 Makita DDA450ZK
User Manual
Makita DDA450ZK
User Manual
-
 Makita DDA460Z
User Manual
Makita DDA460Z
User Manual
-
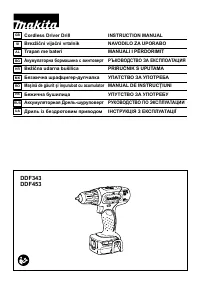
 Makita DDF451RFE
User Manual
Makita DDF451RFE
User Manual
-
 Makita DDF453SYX4
User Manual
Makita DDF453SYX4
User Manual
-
 Makita DDF484RAE
User Manual
Makita DDF484RAE
User Manual
-
 Makita DDF484RME
User Manual
Makita DDF484RME
User Manual
-
 Makita DDF484Z
User Manual
Makita DDF484Z
User Manual
-
 Makita DDF485FYX3
User Manual
Makita DDF485FYX3
User Manual
-
 Makita DDF485RFJ
User Manual
Makita DDF485RFJ
User Manual
-
 Makita DDF486Z
User Manual
Makita DDF486Z
User Manual
-
 Makita DF001GD201
User Manual
Makita DF001GD201
User Manual