Makita 6723DW - Manuals
Makita 6723DW Impact Driver – Manual in PDF format online.
Manuals:
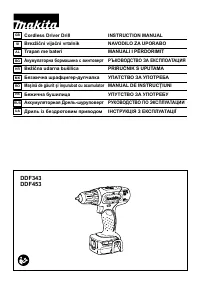
Manual Makita 6723DW


Summary
2 ENGLISH WARNING: Please read all of these safety and operating instructionscarefully before using this cordless screwdriver. Please pay particularattention to all of the sections of this instruction manual that carrywarning symbols and notices. Contents page PRODUCT SPECIFICATION 3 FEATURES 3 PACK...
4 GENERAL SAFETY RULES (FOR ALL BATTERY OPERATED TOOLS) USA003-2 WARNING! Read and understand all instructions. Failure to follow all instructions listed below, may result in electric shock, fire and/or serious personal injury. SAVE THESE INSTRUCTIONS. Work Area: 1. Keep your work area clean and wel...
5 16. Store idle tools out of reach of children and other untrained persons. Tools are dangerous in the hands of untrained users. 17. When battery pack is not in use, keep it away from other metal objects like: paper clips, coins, keys, nails, screws, or other small metal objects that can make a con...
Makita Impact Drivers Manuals
-
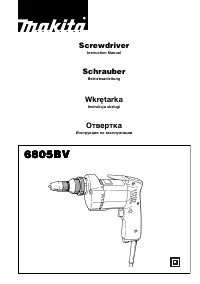 Makita 6805BV
User Manual
Makita 6805BV
User Manual
-
Makita 6805BV
Manual
-
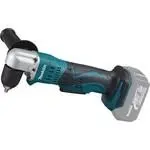
 Makita BDF453SHE
User Manual
Makita BDF453SHE
User Manual
-
 Makita BTP141Z
User Manual
Makita BTP141Z
User Manual
-
 Makita DA3010F
User Manual
Makita DA3010F
User Manual
-
Makita DA3010F
Manual
-
 Makita DA3011F
User Manual
Makita DA3011F
User Manual
-
Makita DA3011F
Manual
-
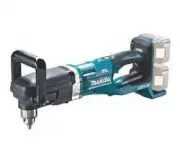
 Makita DDA351Z
User Manual
Makita DDA351Z
User Manual
-
 Makita DDA450ZK
User Manual
Makita DDA450ZK
User Manual
-
 Makita DDA460Z
User Manual
Makita DDA460Z
User Manual
-
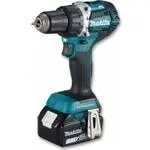
 Makita DDF451RFE
User Manual
Makita DDF451RFE
User Manual
-
 Makita DDF453SYX4
User Manual
Makita DDF453SYX4
User Manual
-
 Makita DDF484RAE
User Manual
Makita DDF484RAE
User Manual
-
 Makita DDF484RME
User Manual
Makita DDF484RME
User Manual
-
 Makita DDF484Z
User Manual
Makita DDF484Z
User Manual
-
 Makita DDF485FYX3
User Manual
Makita DDF485FYX3
User Manual
-
 Makita DDF485RFJ
User Manual
Makita DDF485RFJ
User Manual
-
 Makita DDF486Z
User Manual
Makita DDF486Z
User Manual
-
 Makita DF001GD201
User Manual
Makita DF001GD201
User Manual