Page 2 - TABLE OF CONTENTS
2 TABLE OF CONTENTS Package Contents . . . . . . . . . . . . . . . . . . . . . . . . . . . . . . . . . . . . . . . . . . . . . . . . . . . . . . . . . . . . . . . 3 Safety Information . . . . . . . . . . . . . . . . . . . . . . . . . . . . . . . . . . . . . . . . . . . . . . . . . . . . . . . . . . ...
Page 3 - Space Heater
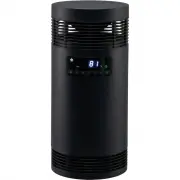
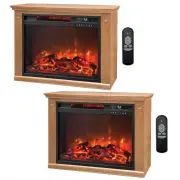
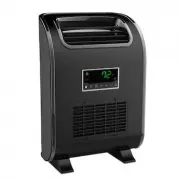
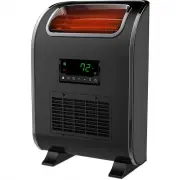
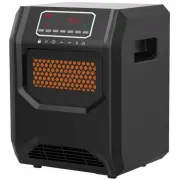
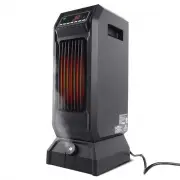
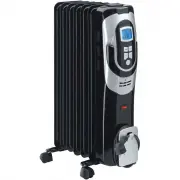
3 PACKAGE CONTENTS A C D B PART DESCRIPTION QUANTITY A Space Heater 1 B Remote Control 1 C Control Panel (pre assembled to Infrared Heater (A)) 1 D Easy Carry Handle (pre assembled to Infrared Heater(A)) 1
Page 4 - SAFETY INFORMATION; IMPORTANT SAFETY INSTRUCTIONS; WARNING; SAVE THESE INSTRUCTIONS
4 SAFETY INFORMATION Please read and understand this entire manual before attempting to assemble, operate, or install the product. IMPORTANT SAFETY INSTRUCTIONS WARNING : POTENTIAL ELECTRICAL HAZARD IF NOT ADHERED TO. When using electrical appliances, basic precautions should always be followed to r...
Page 5 - Voltage Rating
5 SAFETY INFORMATION Child Lock Safety Feature Press and hold the child lock buttons located on the control panel for 5 seconds or remote control for 3 seconds. Locking is confirmed when a buzzer rings and the control panel displays “CL”. When locked, the control panel and remote control (if provide...
Page 6 - FREQUENTLY ASKED QUESTIONS; translations for different wattages.; WATTAGE; can expect up to 24 hours to completely heat up.
6 FREQUENTLY ASKED QUESTIONS Please review these frequently asked questions on the next few pages prior to using your heater. Q. My heater emits a strange odor when I first open the box and when I turn the heater on for the first time. Why is this happening?A . This is normal. This heater is treated...
Page 7 - with a certified electrician.
7 FREQUENTLY ASKED QUESTIONS Q. The temperature on my heater does not match the temperature display on my wall, or external thermostat. Why?A. This is completely normal. The temperature display on your heater may vary from the temperature display on another thermostat (like the one mounted to your w...
Page 8 - PROBLEM
8 PREPARATION Place the heater on a firm, level surface and plug into a grounded 120 V, 60 Hz power outlet. Only Insert two AAA batteries into the remote control before using (batteries not included). *(Not all products will include a remote control). Please note that ceramic heaters do not heat lik...
Page 12 - OPERATING INSTRUCTIONS
12 OPERATING INSTRUCTIONS 4. To set the timer power off, start the unit and press the Timer button on the control panel (C) or remote control (B). Note: The timer-power-off function can only be set when the heater is in power-on mode. The digital display on the control panel (C) changes from the set...
Page 13 - CARE AND MAINTENANCE; DO NOT let liquid enter the heater.; CLEANING THE AIR INTAKE VENT
13 CARE AND MAINTENANCE WARNING: 1. To keep the heater clean, clean the outer shell with a soft, damp cloth. Use a mild detergent if necessary. After cleaning, dry the unit with a soft cloth. CAUTION: DO NOT let liquid enter the heater. 2. DO NOT use alcohol, gasoline, abrasive powders, furniture po...
Page 14 - ONE-YEAR LIMITED WARRANTY; removed are not eligible for warranty coverage.
14 ONE-YEAR LIMITED WARRANTY The manufacturer warrants this heater against defects in materials and workmanship on functional parts, for a period of 1 year from the original date of purchase. Your sales receipt showing the date of purchase of the product is your proof of purchase. Keep it in a safe ...
Page 15 - Remote Control
15 REPLACEMENT PARTS LIST For replacement parts, call our technical support department at 657-341-0362, 8:00 a.m. - 5 p.m., PST, Monday - Friday PART DESCRIPTION PART # A Remote Control 31 .13 .01 .0004 A
Page 16 - Printed in China; PLEASE KEEP YOUR SALES RECIEPT FOR WARRANTY:
Printed in China LIFE SMART ® is a registered trademark of Supply Chain Sources., All Rights Reserved. PLEASE KEEP YOUR SALES RECIEPT FOR WARRANTY: web: www.lifesmartcomfort.com email: [email protected] 16