Page 2 - Many thanks for your trust.; Optimum humidity and temperature are key.
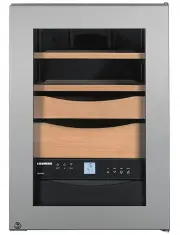
18 Many thanks for your trust. Congratulations on your purchase of this cigar storage unit. In buying this product, which is distinguished by its perfect user-friendliness, impeccable reliability and high quality, you have chosen a top class appliance. We hope that you enjoy your new cigar storage u...
Page 3 - Inhalt
19 GB Inhalt Seite Setting up ...................................................................................................... 20Range of appliance use ................................................................................ 20Dimensions....................................................
Page 4 - Setting up; Humidity at the place of installation; Dimensions
20 Setting up • Avoid locating the appliance in direct sunlight or near heat sources such as an oven or a radiator. • The floor should be level and even. You can compen - sate for an uneven floor by adjusting the adjustable feet. • Please make sure the appliance is properly venti - lated. The ventil...
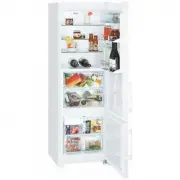
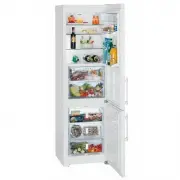
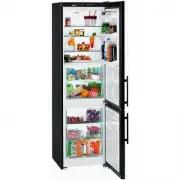
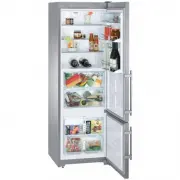
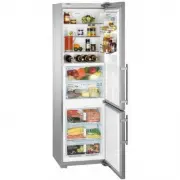
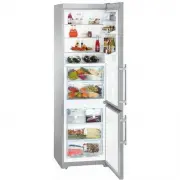
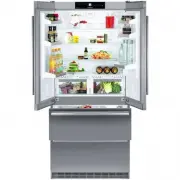
Page 5 - bm
21 GB Electrical requirement Power supply (AC) and voltage at the operating point must comply with the details on the type plate. The type plate is located on the rear of the appliance. The socket must be fused with a 10 A fuse or higher, it must be away from the rear of the appliance and must be ea...
Page 6 - Switching on for the first time; Setting the temperature
22 Switching on for the first time Before switching on the appliance, fill the water tank with 1 litre of distilled water. Use distilled water only! Fold down the front flap completely and if necessary slide it into the appliance as far as it will go. Lift the water tank slightly, remove and fill wi...
Page 7 - Adjusting the humidity; Lighting
23 GB Adjusting the humidity To reduce the humidity Press the Down button. To increase the humidity Press the Up button. - While you are setting the humidity, the display will flash. - About 5 seconds after the button was last pressed, the actual interior humidity will be displayed. The humidity can...
Page 8 - Audible warning signal; Control elements
24 Audible warning signal The audible warning signal sounds in the event of a malfunction. It will always sound when the door has been left open for longer than 60 seconds. It will also sound if the interior becomes too cold or too warm or if the humidity is too high or too low. The corresponding di...
Page 9 - Setup mode
25 GB Setup mode The following functions can be activated in setup mode: = Child lock = Display brightness = Child lock The child lock is designed to protect the appliance from being switched off accidentally. Activating the child lock • Activate setup mode by pressing the button for 5 seconds. - Th...
Page 11 - Equipment
27 GB Equipment Air exchange with activated charcoal filter To guarantee optimum air throughput, the appli-ance is fitted with an activated charcoal filter at the top of the rear wall. We recommend that you replace the illustrated filter once a year. Filters can be obtained from your dealer. Changin...
Page 12 - Alternative interior layouts; Alternative 1
28 Alternative interior layouts The different fitting layouts for optimum cigar storage are illustrated and described below. Alternative 1 (as supplied) Use this layout to store large numbers of cigars individually in the presentation boxes and small cigar boxes on the shelves. Alternative 2 (with t...
Page 13 - Alternative 3
29 GB Alternative 3 (with both presentation boxes removed) This layout is only suitable for storing large cigar boxes (see figure). Important! 1. To ensure constant humidity, there must be at least two pull-out shelves or presenta- tion boxes in the appliance at all times. 2. To ensure adequate air ...
Page 14 - Cleaning
30 Cleaning Before cleaning, always switch off the appliance. Disconnect from the mains or switch off or unscrew the fuse. • Remove all cigars from the appliance and store them in a suitable place. • Remove all shelves and presentation boxes. • Clean the inside, the door seal and the inside of the g...
Page 15 - Malfunctions
31 GB Malfunctions If a malfunction occurs during operation, check whether it is due to an operating error. Please note that even during the warranty period the resultant servicing costs in this case will have to be borne by the owner. You can rectify the following faults yourself: • Appliance does ...
Page 16 - Safety instructions and warnings
32 Safety instructions and warnings • To prevent injury or damage to the unit, the appliance should be unpacked and set up by two people. • In the event that the appliance is damaged on delivery, contact the supplier immedi - ately before connecting to the mains. • To guarantee safe operation, ensur...
Page 17 - Disposal notes; Wall mounting; Shutting your appliance down
33 GB Disposal notes • Keep packaging materials away from children - polythene sheets and bags can suf - focate! • Please return the packaging material to an official collection point. Your old appliance: This contains some reusable materials and should be disposed of properly - not simply with unso...