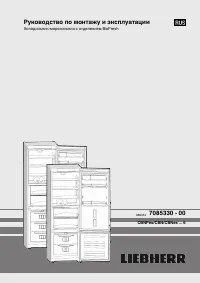
Liebherr WTES5872 - Manuals
User Manual Liebherr WTES5872


Summary
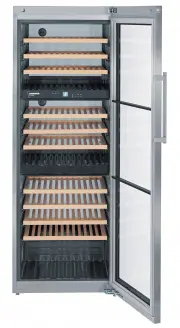
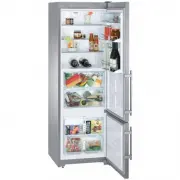
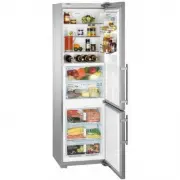
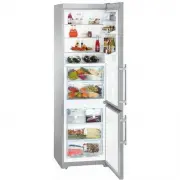
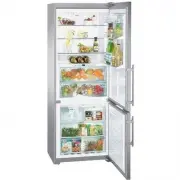
16 Description of the appliance Activated charcoal filter Adjustable- height feet Operating and control elements Type plate Lock Interior light (LED light strip) Activated charcoal filter Interior light (LED light strip) Pull-out shelves Pull-out shelves Pull-out shelves Activated charcoal filter In...
17 GB Safety instructions and warnings • To prevent injury or damage to the unit, the ap - pliance should be unpacked and set up by two people. • In the event that the appliance is damaged on delivery, contact the supplier immediately before connecting to the mains. • To guarantee safe operation, en...
18 Appliance dimensions Setting up • Avoid positioning the appliance in direct sunlight or near cookers, radiators and similar sources of heat. • The floor on which the appliance stands should be horizontal and level.Compensate for uneven floors with the adjustable feet. • Do not cover ventilation o...
Liebherr Refrigerators Manuals
-
 Liebherr B 2756
User Manual
Liebherr B 2756
User Manual
-
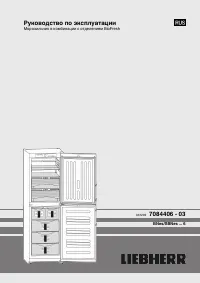
 Liebherr B 2756 Premium BioFresh
User Manual
Liebherr B 2756 Premium BioFresh
User Manual
-
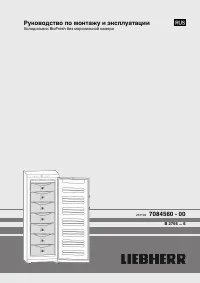
 Liebherr BNes_SBNes ... 6
User Manual
Liebherr BNes_SBNes ... 6
User Manual
-
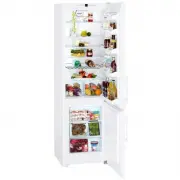 Liebherr C 4023
User Manual
Liebherr C 4023
User Manual
-
 Liebherr C5740IM
User Manual
Liebherr C5740IM
User Manual
-
 Liebherr CBesf 4006 BioFresh
User Manual
Liebherr CBesf 4006 BioFresh
User Manual
-
 Liebherr CBN 3656
User Manual
Liebherr CBN 3656
User Manual
-
 Liebherr CBN 3656 Premium
User Manual
Liebherr CBN 3656 Premium
User Manual
-
 Liebherr CBN 3913 Comfort
User Manual
Liebherr CBN 3913 Comfort
User Manual
-
 Liebherr CBN 3956 Premium
User Manual
Liebherr CBN 3956 Premium
User Manual
-
 Liebherr CBNb 3913
User Manual
Liebherr CBNb 3913
User Manual
-
 Liebherr CBNb 3913 Comfort
User Manual
Liebherr CBNb 3913 Comfort
User Manual
-
 Liebherr CBNes 3656
User Manual
Liebherr CBNes 3656
User Manual
-
 Liebherr CBNes 3656 Premium
User Manual
Liebherr CBNes 3656 Premium
User Manual
-
 Liebherr CBNes 3956 Premium
User Manual
Liebherr CBNes 3956 Premium
User Manual
-
 Liebherr CBNes 3957
User Manual
Liebherr CBNes 3957
User Manual
-
 Liebherr CBNes 3957 Premium
User Manual
Liebherr CBNes 3957 Premium
User Manual
-
 Liebherr CBNes 5167
User Manual
Liebherr CBNes 5167
User Manual
-
 Liebherr CBNes 6256 PremiumPlus
User Manual
Liebherr CBNes 6256 PremiumPlus
User Manual
-
 Liebherr CBNES5167RH
User Manual
Liebherr CBNES5167RH
User Manual