Liebherr CNes 4013 Comfort NoFrost - Manuals
Liebherr CNes 4013 Comfort NoFrost Refrigerator – User Manual in PDF format online.
Manuals:
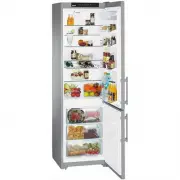
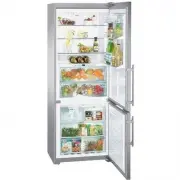
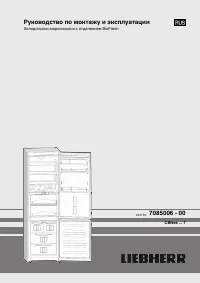
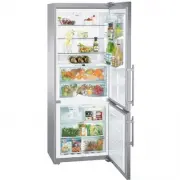
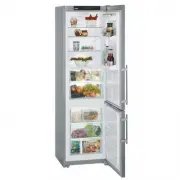
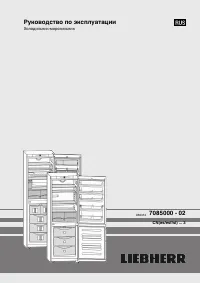
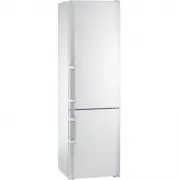
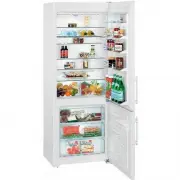
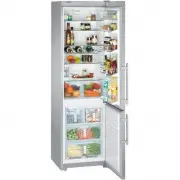
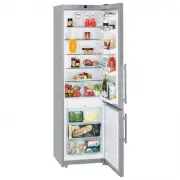
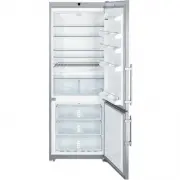
User Manual Liebherr CNes 4013 Comfort NoFrost

Summary
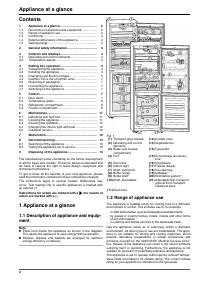
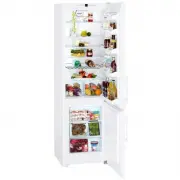
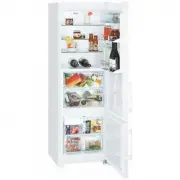
Contents 1 Appliance at a glance............................................ 2 1.1 Description of appliance and equipment.................. 2 1.2 Range of appliance use............................................ 2 1.3 Conformity................................................................ 3 1.4 ...
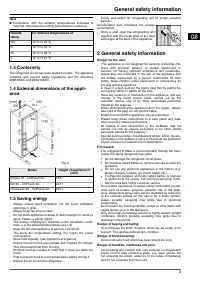
Note u Compliance with the ambient temperatures indicated is required, otherwise the cooling performance is reduced. Climate rating for ambient temperatures of SN 10 °C to 32 °C N 16 °C to 32 °C ST 16 °C to 38 °C T 16 °C to 43 °C 1.3 Conformity The refrigerant circuit has been tested for leaks. The ...
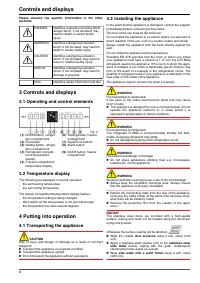
Please observe the specific information in the other sections: DANGER identifies a situation involving direct danger which, if not obviated, may result in death or severe bodily injury. WARNING identifies a dangerous situation which, if not obviated, may result in death or severe bodily injury. CAUT...
Liebherr Refrigerators Manuals
-
 Liebherr C 4023
User Manual
Liebherr C 4023
User Manual
-
 Liebherr C5740IM
User Manual
Liebherr C5740IM
User Manual
-
 Liebherr CBN 3656 Premium
User Manual
Liebherr CBN 3656 Premium
User Manual
-
 Liebherr CBNes 5167
User Manual
Liebherr CBNes 5167
User Manual
-
 Liebherr CBNES6256
User Manual
Liebherr CBNES6256
User Manual
-
 Liebherr CBNesf 3913
User Manual
Liebherr CBNesf 3913
User Manual
-
 Liebherr CBNPes 3756
User Manual
Liebherr CBNPes 3756
User Manual
-
 Liebherr CBNPes 3967
User Manual
Liebherr CBNPes 3967
User Manual
-
 Liebherr CBNPes 5167 PremiumPlus
User Manual
Liebherr CBNPes 5167 PremiumPlus
User Manual
-
 Liebherr CBPesf 4033
User Manual
Liebherr CBPesf 4033
User Manual
-
 Liebherr CN 3503
User Manual
Liebherr CN 3503
User Manual
-
 Liebherr CN 3913
User Manual
Liebherr CN 3913
User Manual
-
 Liebherr CN 4003 NoFrost
User Manual
Liebherr CN 4003 NoFrost
User Manual
-
 Liebherr CN 5156 Premium NoFrost
User Manual
Liebherr CN 5156 Premium NoFrost
User Manual
-
 Liebherr CNes 4013_CNes 4023
User Manual
Liebherr CNes 4013_CNes 4023
User Manual
-
 Liebherr CNes 4066 Premium NoFrost
User Manual
Liebherr CNes 4066 Premium NoFrost
User Manual
-
 Liebherr CNesf 4003 Comfort NoFrost
User Manual
Liebherr CNesf 4003 Comfort NoFrost
User Manual
-
 Liebherr CNesf 5113 Comfort NoFrost
User Manual
Liebherr CNesf 5113 Comfort NoFrost
User Manual
-
 Liebherr CNP 3913
User Manual
Liebherr CNP 3913
User Manual
-
 Liebherr CNP 4056 Premium NoFrost
User Manual
Liebherr CNP 4056 Premium NoFrost
User Manual