Liebherr CNEF4315 - Manuals
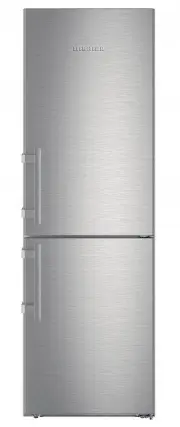
User Manual Liebherr CNEF4315


Summary
Contents 1 Appliance at a glance............................................ 2 1.1 Overview of the appliance and its equipment........... 2 1.2 Appliance range of use............................................. 3 1.3 Conformity................................................................ 3 1.4 P...
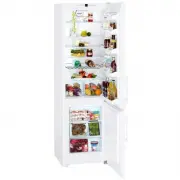
temperature deviates from the standard temperature of 25°C, the energy consumption may differ. - Open the appliance for as short a time as possible. - The lower the temperature is set the higher the energy consumption. - Arrange the food in an organised way (see 1) . - Keep all food properly packed ...
- Keep burning candles, lamps and other items with naked flames away from the appliance so that they do not set the appliance on fire. - Please be sure to store alcoholic drinks or other packaging containing alcohol in tightly closed containers. Any alcohol that leaks out may be ignited by electrica...
Liebherr Refrigerators Manuals
-
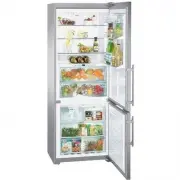
 Liebherr B 2756
User Manual
Liebherr B 2756
User Manual
-
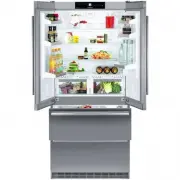
 Liebherr B 2756 Premium BioFresh
User Manual
Liebherr B 2756 Premium BioFresh
User Manual
-
 Liebherr BNes_SBNes ... 6
User Manual
Liebherr BNes_SBNes ... 6
User Manual
-
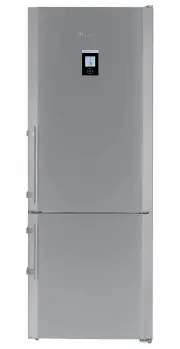
 Liebherr C 4023
User Manual
Liebherr C 4023
User Manual
-
 Liebherr C5740IM
User Manual
Liebherr C5740IM
User Manual
-
 Liebherr CBesf 4006 BioFresh
User Manual
Liebherr CBesf 4006 BioFresh
User Manual
-
 Liebherr CBN 3656
User Manual
Liebherr CBN 3656
User Manual
-
 Liebherr CBN 3656 Premium
User Manual
Liebherr CBN 3656 Premium
User Manual
-
 Liebherr CBN 3913 Comfort
User Manual
Liebherr CBN 3913 Comfort
User Manual
-
 Liebherr CBN 3956 Premium
User Manual
Liebherr CBN 3956 Premium
User Manual
-
 Liebherr CBNb 3913
User Manual
Liebherr CBNb 3913
User Manual
-
 Liebherr CBNb 3913 Comfort
User Manual
Liebherr CBNb 3913 Comfort
User Manual
-
 Liebherr CBNes 3656
User Manual
Liebherr CBNes 3656
User Manual
-
 Liebherr CBNes 3656 Premium
User Manual
Liebherr CBNes 3656 Premium
User Manual
-
 Liebherr CBNes 3956 Premium
User Manual
Liebherr CBNes 3956 Premium
User Manual
-
 Liebherr CBNes 3957
User Manual
Liebherr CBNes 3957
User Manual
-
 Liebherr CBNes 3957 Premium
User Manual
Liebherr CBNes 3957 Premium
User Manual
-
 Liebherr CBNes 5167
User Manual
Liebherr CBNes 5167
User Manual
-
 Liebherr CBNes 6256 PremiumPlus
User Manual
Liebherr CBNes 6256 PremiumPlus
User Manual
-
 Liebherr CBNES5167RH
User Manual
Liebherr CBNES5167RH
User Manual