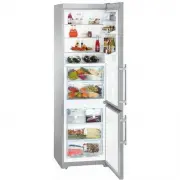
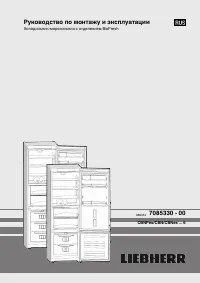
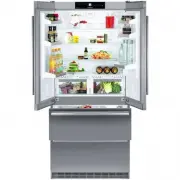
Liebherr CBNes 3957 Premium - Manuals
User Manual Liebherr CBNes 3957 Premium


Summary
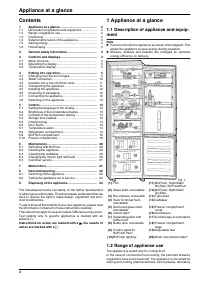
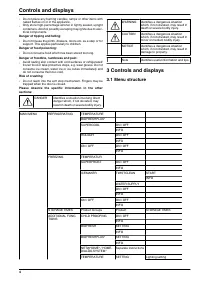
Contents 1 Appliance at a glance............................................ 2 1.1 Description of appliance and equipment.................. 2 1.2 Range of appliance use............................................ 2 1.3 Conformity................................................................ 3 1.4 ...
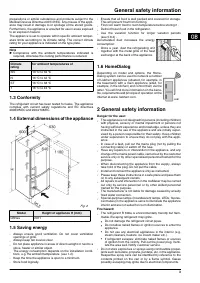
preparations or similar substances and products subject to the Medical Devices Directive 2007/47/EC. Any misuse of the appli- ance may result in damage to or spoilage of the stored goods. Furthermore, the appliance is unsuited for use in areas exposed to an explosion hazard.The appliance is set to o...
- Do not place any burning candles, lamps or other items with naked flames on or in the appliance. - Only store high-percentage alcohol in tightly sealed, upright containers. Alcohol possibly escaping may ignite due to elec- trical components. Danger of tipping and falling: - Do not misuse the plint...
Liebherr Refrigerators Manuals
-
 Liebherr B 2756
User Manual
Liebherr B 2756
User Manual
-
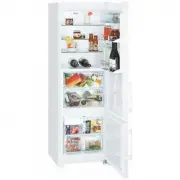
 Liebherr B 2756 Premium BioFresh
User Manual
Liebherr B 2756 Premium BioFresh
User Manual
-
 Liebherr BNes_SBNes ... 6
User Manual
Liebherr BNes_SBNes ... 6
User Manual
-
 Liebherr C 4023
User Manual
Liebherr C 4023
User Manual
-
 Liebherr C5740IM
User Manual
Liebherr C5740IM
User Manual
-
 Liebherr CBesf 4006 BioFresh
User Manual
Liebherr CBesf 4006 BioFresh
User Manual
-
 Liebherr CBN 3656
User Manual
Liebherr CBN 3656
User Manual
-
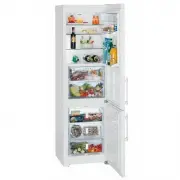
 Liebherr CBN 3656 Premium
User Manual
Liebherr CBN 3656 Premium
User Manual
-
 Liebherr CBN 3913 Comfort
User Manual
Liebherr CBN 3913 Comfort
User Manual
-
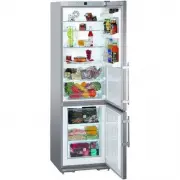
 Liebherr CBN 3956 Premium
User Manual
Liebherr CBN 3956 Premium
User Manual
-
 Liebherr CBNb 3913
User Manual
Liebherr CBNb 3913
User Manual
-
 Liebherr CBNb 3913 Comfort
User Manual
Liebherr CBNb 3913 Comfort
User Manual
-
 Liebherr CBNes 3656
User Manual
Liebherr CBNes 3656
User Manual
-
 Liebherr CBNes 3656 Premium
User Manual
Liebherr CBNes 3656 Premium
User Manual
-
 Liebherr CBNes 3956 Premium
User Manual
Liebherr CBNes 3956 Premium
User Manual
-
 Liebherr CBNes 3957
User Manual
Liebherr CBNes 3957
User Manual
-
 Liebherr CBNes 5167
User Manual
Liebherr CBNes 5167
User Manual
-
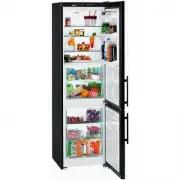
 Liebherr CBNes 6256 PremiumPlus
User Manual
Liebherr CBNes 6256 PremiumPlus
User Manual
-
 Liebherr CBNES5167RH
User Manual
Liebherr CBNES5167RH
User Manual
-
 Liebherr CBNES6256
User Manual
Liebherr CBNES6256
User Manual