Liebherr CBesf 4006 BioFresh - Manuals
User Manual Liebherr CBesf 4006 BioFresh


Summary
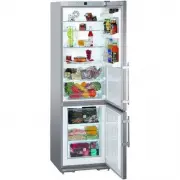
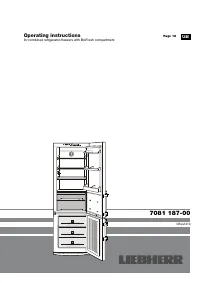
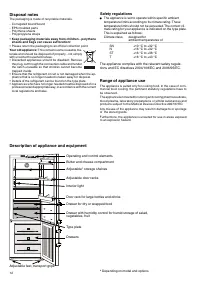
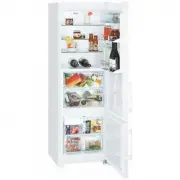
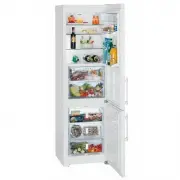
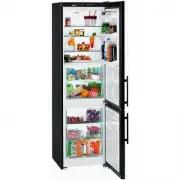
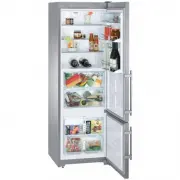
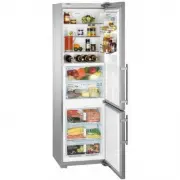
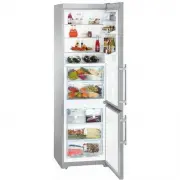
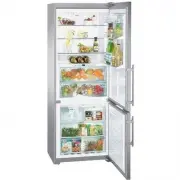
12 * Depending on model and options Description of appliance and equipment Adjustable feet, transport grips Butter and cheese compartment Operating and control elements Adjustable* storage shelves Interior light Door rack for large bottles and drinks Drawers Drawer with humidity control for humid st...
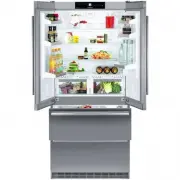
16 The BioFresh compartment enables you to keep a range of fresh food fresh for up to three times as long as you would in a standard refrigerator, thus making your stocks last longer. The automatically controlled storage temperature, which is kept constantly between 0 and 3°C, and the resultant hu- ...
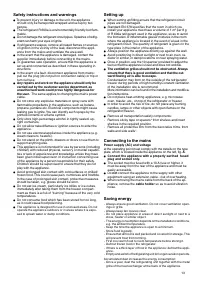
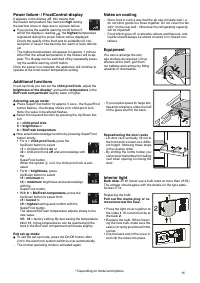
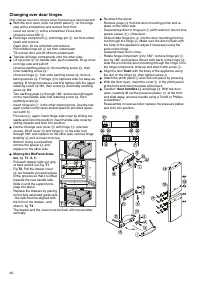
17 W If you want to use the maximum net capacity, you can remove the drawers and store items directly on the shelves. This will enable you to make use of the entire volume of the compartment. - Removing drawers , fig. G1 : Pull forward until the drawer stops and lift out. - Removing storage tray , f...
Liebherr Refrigerators Manuals
-
 Liebherr B 2756
User Manual
Liebherr B 2756
User Manual
-
 Liebherr B 2756 Premium BioFresh
User Manual
Liebherr B 2756 Premium BioFresh
User Manual
-
 Liebherr BNes_SBNes ... 6
User Manual
Liebherr BNes_SBNes ... 6
User Manual
-
 Liebherr C 4023
User Manual
Liebherr C 4023
User Manual
-
 Liebherr C5740IM
User Manual
Liebherr C5740IM
User Manual
-
 Liebherr CBN 3656
User Manual
Liebherr CBN 3656
User Manual
-
 Liebherr CBN 3656 Premium
User Manual
Liebherr CBN 3656 Premium
User Manual
-
 Liebherr CBN 3913 Comfort
User Manual
Liebherr CBN 3913 Comfort
User Manual
-
 Liebherr CBN 3956 Premium
User Manual
Liebherr CBN 3956 Premium
User Manual
-
 Liebherr CBNb 3913
User Manual
Liebherr CBNb 3913
User Manual
-
 Liebherr CBNb 3913 Comfort
User Manual
Liebherr CBNb 3913 Comfort
User Manual
-
 Liebherr CBNes 3656
User Manual
Liebherr CBNes 3656
User Manual
-
 Liebherr CBNes 3656 Premium
User Manual
Liebherr CBNes 3656 Premium
User Manual
-
 Liebherr CBNes 3956 Premium
User Manual
Liebherr CBNes 3956 Premium
User Manual
-
 Liebherr CBNes 3957
User Manual
Liebherr CBNes 3957
User Manual
-
 Liebherr CBNes 3957 Premium
User Manual
Liebherr CBNes 3957 Premium
User Manual
-
 Liebherr CBNes 5167
User Manual
Liebherr CBNes 5167
User Manual
-
 Liebherr CBNes 6256 PremiumPlus
User Manual
Liebherr CBNes 6256 PremiumPlus
User Manual
-
 Liebherr CBNES5167RH
User Manual
Liebherr CBNES5167RH
User Manual
-
 Liebherr CBNES6256
User Manual
Liebherr CBNES6256
User Manual