Lemair LWC646 - Manuals
User Manual Lemair LWC646


Summary
CONTENTS IMPORTANT SAFETY INFORMATION ���������������������������������������������������1DESCRIPTION OF APPLIANCE AND INSTALLATION ���������������������������3 145L (LWC646 and LBC6178) ���������������������������������������������������������������������������������������������������������������� ...
1 INSTRUCTION MANUAL ● Please remove all packaging, stickers and films from the products surface and clean the product’s surfaces with a damp cloth and mild detergent before using for the first time. ● Let the appliance stand upright for approximately 24 hours before connecting it to the power sourc...
2 INSTRUCTION MANUAL ● To ensure proper ventilation for the appliance, the front of the unit must be completely unobstructed� Locate the unit away from direct sunlight and sources of heat (stove, heater, radiator, etc�)� ● Do not attempt to repair or replace any part of the appliance unless it is sp...
Lemair Refrigerators Manuals
-
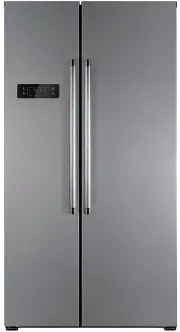 Lemair L550SXS
User Manual
Lemair L550SXS
User Manual
-
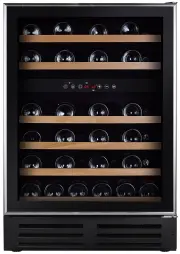
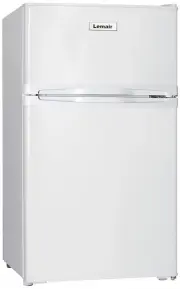
 Lemair LBC6178
User Manual
Lemair LBC6178
User Manual
-
 Lemair LTM221W
User Manual
Lemair LTM221W
User Manual
-
 Lemair LTM268S
User Manual
Lemair LTM268S
User Manual
-
 Lemair LTM268W
User Manual
Lemair LTM268W
User Manual
-
 Lemair LTM311W
User Manual
Lemair LTM311W
User Manual
-
 Lemair LTM366S
User Manual
Lemair LTM366S
User Manual
-
 Lemair LTM366W
User Manual
Lemair LTM366W
User Manual
-
 Lemair LTM459W
User Manual
Lemair LTM459W
User Manual
-
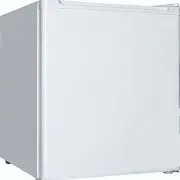
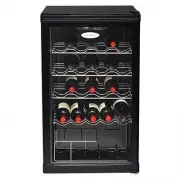 Lemair LWC59
User Manual
Lemair LWC59
User Manual
-
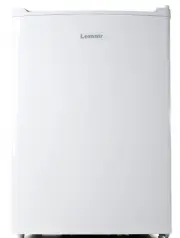
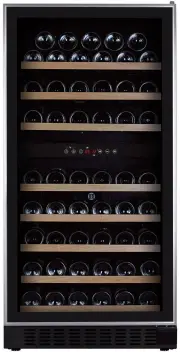 Lemair LWC694
User Manual
Lemair LWC694
User Manual
-
 Lemair RQ115BK
User Manual
Lemair RQ115BK
User Manual
-
 Lemair RQ115M
User Manual
Lemair RQ115M
User Manual
-
 Lemair RQ115S
User Manual
Lemair RQ115S
User Manual
-
 Lemair RQ50H
User Manual
Lemair RQ50H
User Manual
-
 Lemair RQ80H
User Manual
Lemair RQ80H
User Manual
-
 Lemair RQ87TD
User Manual
Lemair RQ87TD
User Manual
-
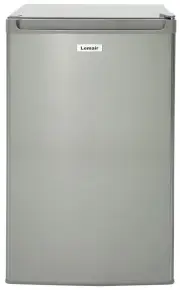
 Lemair RS245SFRM175V
User Manual
Lemair RS245SFRM175V
User Manual