KoolMore KM-FR36EE-SS - Manuals
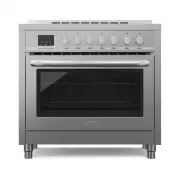
User Manual KoolMore KM-FR36EE-SS


Summary
Table of Contents Table of Contents .................................................................................................................... 2 Safety Requirements ............................................................................................................... 3 Parts Suppl...
Safety Requirements IMPORTANT SAFETY NOTICE READ ALL INSTRUCTION BEFORE INSTALLING AND OPERATING THIS APPLIANCE We have provided many important safety messages in this manual and on your appliance. Always read and obey all safety messages. This is the safety alert symbol. This symbol alerts you to p...
Parts Supplied 1 × Optional Backsplash 4 + 1 Screws 7 × Knobs 1 × Rack Puller 2 × Oven Racks 1 × Grill Set (Basin + Anti-Splash) 1 × Anti-Tip Bracket 2 × Screws and Anchors 9 4 × Feet User Manual
KoolMore Ranges Manuals
-
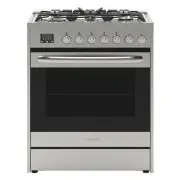 KoolMore GRS-30-5B
User Manual
KoolMore GRS-30-5B
User Manual
-
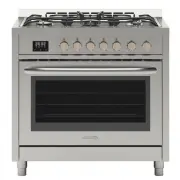 KoolMore GRS-36-5B
User Manual
KoolMore GRS-36-5B
User Manual
-
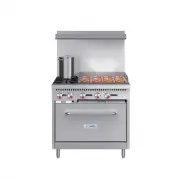
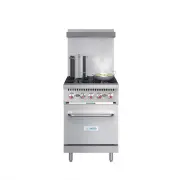 KoolMore KM-CR24-NG
User Manual
KoolMore KM-CR24-NG
User Manual
-
 KoolMore KM-CR36-LP
User Manual
KoolMore KM-CR36-LP
User Manual
-
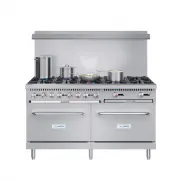 KoolMore KM-CR60-LP
User Manual
KoolMore KM-CR60-LP
User Manual
-
 KoolMore KM-CRG36-LP
User Manual
KoolMore KM-CRG36-LP
User Manual
-
 KoolMore KM-CRG36-NG
User Manual
KoolMore KM-CRG36-NG
User Manual
-
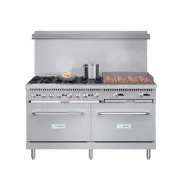 KoolMore KM-CRG60-NG
User Manual
KoolMore KM-CRG60-NG
User Manual
-
 KoolMore KM-CRGB60-NG
User Manual
KoolMore KM-CRGB60-NG
User Manual
-
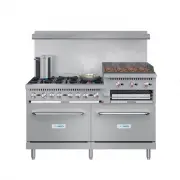
 KoolMore KM-EPR-36TDP-SS
User Manual
KoolMore KM-EPR-36TDP-SS
User Manual