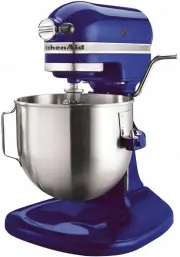
KitchenAid KSM150PSWH - Manuals
KitchenAid KSM150PSWH Mixer – User Manual, Manual in PDF format online.
Manuals:
User Manual KitchenAid KSM150PSWH


Summary
3 ENGLISH PROOF OF PURCHASE & PRODUCT REGISTRATION Model Number ___________________________________________________ Serial Number ___________________________________________________ Date Purchased __________________________________________________ Store Name _____________________________________...
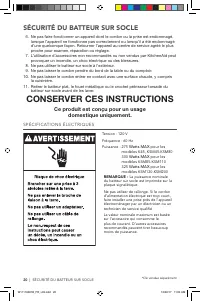
4 ENGLISH Your safety and the safety of others are very important. We have provided many important safety messages in this manual and on your appliance. Always read and obey all safety messages. This is the safety alert symbol. This symbol alerts you to potential hazards that can kill or hurt you an...
5 ENGLISH ELECTRICAL REQUIREMENTS Volts: 120 A.C. only. Hertz: 60The wattage rating for your Stand Mixer is printed on a tag under the mixer base. It is also listed on the trim band. If the power cord is too short, have a qualified electrician or serviceman install an outlet near the appliance. 8. D...
Manual KitchenAid KSM150PSWH


Summary
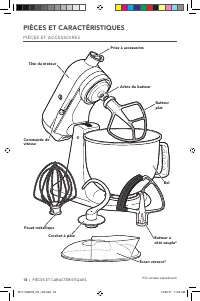
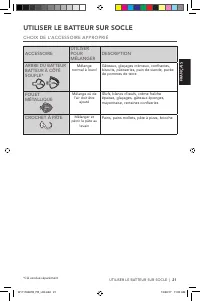
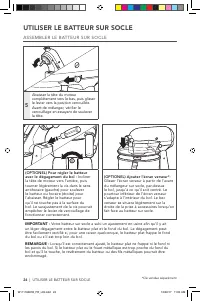
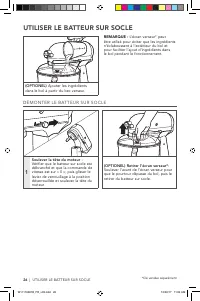
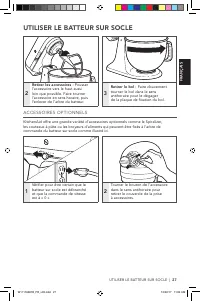
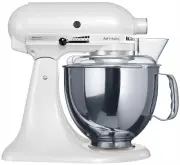
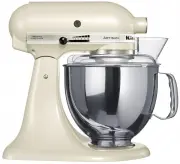
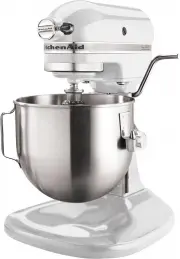
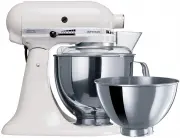
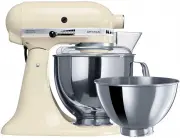
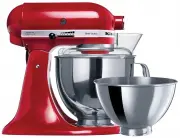
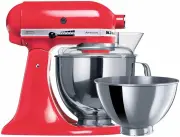
PARTS AND FEATURES PARTS AND ACCESSORIES Pouring shield* Flex Edge beater* Wire whip Dough hook Speed control *Accessory sold separately Motor head Attachment hub Beater shaft Flat beater Bowl W11118281B_ENv03.indd 2 12/22/17 11:02 AM
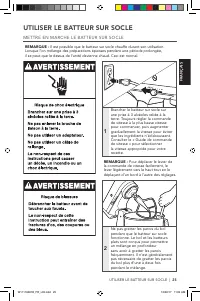
ENGLISH STAND MIXER SAFETY | 3 STAND MIXER SAFETY IMPORTANT SAFEGUARDS When using electrical appliances, basic safety precautions should always be followed, including the following: 1. Read all instructions.2. To avoid risk of electrical shock, do not put Stand Mixer in water or other liquid.3. Clos...
4 | STAND MIXER SAFETY STAND MIXER SAFETY 10. Do not let the cord contact hot surfaces, including the stove.11. Remove the flat beater, wire whip, or spiral dough hook from the Stand Mixer before washing. This product is designed for household use only. ELECTRICAL REQUIREMENTS Voltage: 120 VFrequenc...
KitchenAid Mixers Manuals
-
 KitchenAid 91000
User Manual
KitchenAid 91000
User Manual
-
 KitchenAid 91005
User Manual
KitchenAid 91005
User Manual
-
 KitchenAid 91010
User Manual
KitchenAid 91010
User Manual
-
 KitchenAid 91020
User Manual
KitchenAid 91020
User Manual
-
 KitchenAid 91030
User Manual
KitchenAid 91030
User Manual
-
 KitchenAid 91045
User Manual
KitchenAid 91045
User Manual
-
 KitchenAid 91072
User Manual
KitchenAid 91072
User Manual
-
 KitchenAid 91099
User Manual
KitchenAid 91099
User Manual
-
 KitchenAid 91101
User Manual
KitchenAid 91101
User Manual
-
 KitchenAid 91115
User Manual
KitchenAid 91115
User Manual
-
 KitchenAid 91123
User Manual
KitchenAid 91123
User Manual
-
 KitchenAid 91131
User Manual
KitchenAid 91131
User Manual
-
 KitchenAid 91135
User Manual
KitchenAid 91135
User Manual
-
 KitchenAid 93000
User Manual
KitchenAid 93000
User Manual
-
 KitchenAid 93015
User Manual
KitchenAid 93015
User Manual
-
 KitchenAid 93035
User Manual
KitchenAid 93035
User Manual
-
 KitchenAid 93400
User Manual
KitchenAid 93400
User Manual
-
 KitchenAid 93405
User Manual
KitchenAid 93405
User Manual
-
 KitchenAid 93410
User Manual
KitchenAid 93410
User Manual
-
 KitchenAid 93411
User Manual
KitchenAid 93411
User Manual