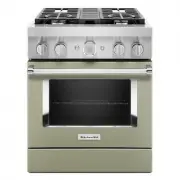
KitchenAid KSGG700ESS - Manuals
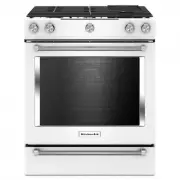
KitchenAid KSGG700ESS Range – User Manual, Installation Manual in PDF format online.
Manuals:
User Manual KitchenAid KSGG700ESS


Installation Manual KitchenAid KSGG700ESS


Summary
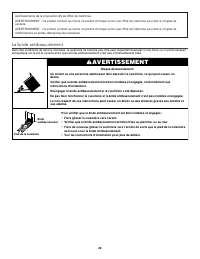
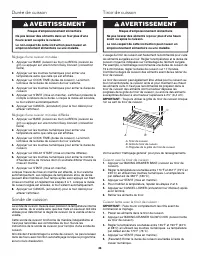
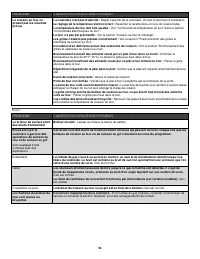
2 RANGE SAFETY You can be killed or seriously injured if you don't immediately You can be killed or seriously injured if you don't follow All safety messages will tell you what the potential hazard is, tell you how to reduce the chance of injury, and tell you what canhappen if the instructions are n...
3 In the State of Massachusetts, the following installation instructions apply: ■ Installations and repairs must be performed by a qualified or licensed contractor, plumber, or gasfitter qualified or licensed by the State of Massachusetts. ■ If using a ball valve, it shall be a T-handle type. ■ A fl...
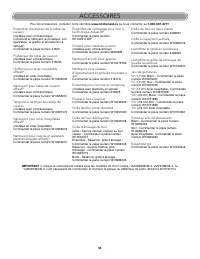
4 INSTALLATION REQUIREMENTS Tools and Parts Gather the required tools and parts before starting installation. Read and follow the instructions provided with any tools listed here. Tools Needed Parts Supplied Check that all parts are included. ■ LP/Natural Gas Conversion Kit ■ #10 x 1 ⁵⁄₈ " (4.1 ...
KitchenAid Ranges Manuals
-
 KitchenAid KFDC500JAV
User Manual
KitchenAid KFDC500JAV
User Manual
-
KitchenAid KFDC500JAV
Manual
-
KitchenAid KFDC500JAV
Installation Manual
-
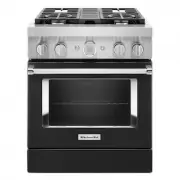 KitchenAid KFDC500JBK
User Manual
KitchenAid KFDC500JBK
User Manual
-
KitchenAid KFDC500JBK
Manual
-
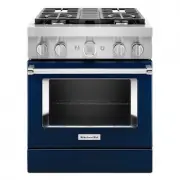 KitchenAid KFDC500JIB
User Manual
KitchenAid KFDC500JIB
User Manual
-
KitchenAid KFDC500JIB
Manual
-
 KitchenAid KFDC500JMB
User Manual
KitchenAid KFDC500JMB
User Manual
-
KitchenAid KFDC500JMB
Manual
-
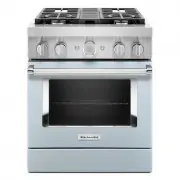
 KitchenAid KFDC500JMH
User Manual
KitchenAid KFDC500JMH
User Manual
-
KitchenAid KFDC500JMH
Manual
-
KitchenAid KFDC500JMH
Installation Manual
-
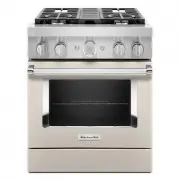
 KitchenAid KFDC500JPA
User Manual
KitchenAid KFDC500JPA
User Manual
-
KitchenAid KFDC500JPA
Manual
-
KitchenAid KFDC500JPA
Installation Manual
-
 KitchenAid KFDC500JSC
User Manual
KitchenAid KFDC500JSC
User Manual
-
KitchenAid KFDC500JSC
Manual
-
 KitchenAid KFDC500JSS
User Manual
KitchenAid KFDC500JSS
User Manual
-
KitchenAid KFDC500JSS
Installation Manual
-
KitchenAid KFDC500JSS
Manual