KitchenAid KFED500EBS - Manuals
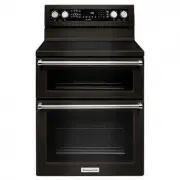
User Manual KitchenAid KFED500EBS


Manual KitchenAid KFED500EBS


Summary
2 INSTALLATION REQUIREMENTS Tools and Parts Gather the required tools and parts before starting installation. Read and follow the instructions provided with any tools listed here. Tools Needed ■ Tape measure ■ Level ■ Phillips screwdriver ■ Flat-blade screwdriver ■ Wrench or pliers ■ 3 / 8 " nut...
4 Electrical Requirements - U.S.A. Only If codes permit and a separate ground wire is used, it is recommended that a qualified electrical installer determine that the ground path and wire gauge are in accordance with local codes.Do not use an extension cord.Be sure that the electrical connection and...
5 Electrical Requirements - Canada Only If codes permit and a separate ground wire is used, it is recommended that a qualified electrical installer determine that the ground path is adequate and wire gauge are in accordance with local codes.Be sure that the electrical connection and wire size are ad...
KitchenAid Ranges Manuals
-
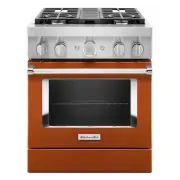
 KitchenAid KFDC500JAV
User Manual
KitchenAid KFDC500JAV
User Manual
-
KitchenAid KFDC500JAV
Manual
-
KitchenAid KFDC500JAV
Installation Manual
-
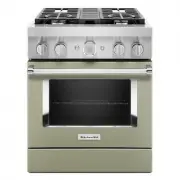
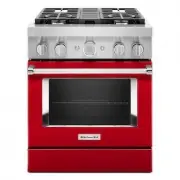
 KitchenAid KFDC500JBK
User Manual
KitchenAid KFDC500JBK
User Manual
-
KitchenAid KFDC500JBK
Manual
-
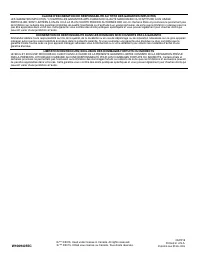
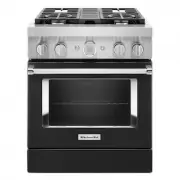
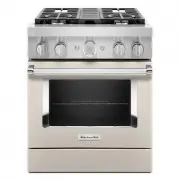
 KitchenAid KFDC500JIB
User Manual
KitchenAid KFDC500JIB
User Manual
-
KitchenAid KFDC500JIB
Manual
-
 KitchenAid KFDC500JMB
User Manual
KitchenAid KFDC500JMB
User Manual
-
KitchenAid KFDC500JMB
Manual
-
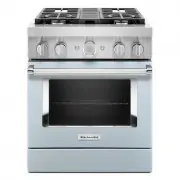
 KitchenAid KFDC500JMH
User Manual
KitchenAid KFDC500JMH
User Manual
-
KitchenAid KFDC500JMH
Manual
-
KitchenAid KFDC500JMH
Installation Manual
-
 KitchenAid KFDC500JPA
User Manual
KitchenAid KFDC500JPA
User Manual
-
KitchenAid KFDC500JPA
Manual
-
KitchenAid KFDC500JPA
Installation Manual
-
 KitchenAid KFDC500JSC
User Manual
KitchenAid KFDC500JSC
User Manual
-
KitchenAid KFDC500JSC
Manual
-
 KitchenAid KFDC500JSS
User Manual
KitchenAid KFDC500JSS
User Manual
-
KitchenAid KFDC500JSS
Installation Manual
-
KitchenAid KFDC500JSS
Manual