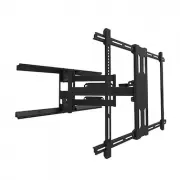
Kanto LX600SW - Manuals
Kanto LX600SW TV Bracket – User Manual in PDF format online.
Manuals:
User Manual Kanto LX600SW


Summary
2 Thank you for choosing Kanto Read these instructions fully before assembly and installation. If you do not understand these directions, or have any doubts about the safety of the installation, please consult a qualified installation contractor. Make sure there are no defective or missing parts. Do...
3 G: M8 x 35 mm x4 F: M8 x 20 mm x4 E: M6 x 35 mm x4 C: M5 x 30 mm x4 x2 D: M6 x 16 mm x4 B: M5 x 16 mm x4 L: M4 x4 M: M5 / M6 x4 I : 5 mm x4 J: 10 mm x4 K: 14 mm x4 H: M8 x 50 mm x4 SNAPTOGGLE® Hardware x4 N: 10 mm / 13 mm O: 5 mm x4 x4 A: M4 x 16 mm x4 x4 x4 Alternador SNAPTOGGLE® Matériel SNAPTOG...
4 If you have any problems or difficulties while following these instructions, please contact Kanto directly: Email: [email protected] Toll Free: US & Canada: 1-888-848-2643 Si vous avez des problè mes ou des questions en suivant ces instructions, veuillez contacter Kanto directement à : Email: [e...
Kanto TV Brackets Manuals
-
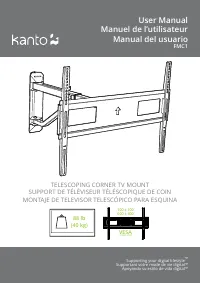 Kanto FMC1
User Manual
Kanto FMC1
User Manual
-
 Kanto FMC4
User Manual
Kanto FMC4
User Manual
-
 Kanto PDC650
User Manual
Kanto PDC650
User Manual
-
 Kanto PDX650
User Manual
Kanto PDX650
User Manual
-
 Kanto PDX700
User Manual
Kanto PDX700
User Manual
-
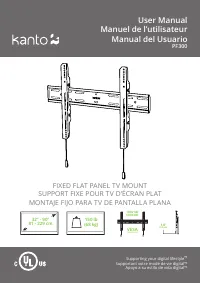 Kanto PF300
User Manual
Kanto PF300
User Manual
-
 Kanto PMX660
User Manual
Kanto PMX660
User Manual
-
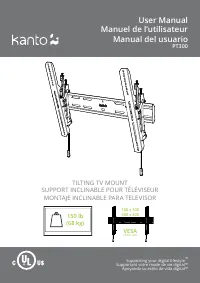 Kanto PT300
User Manual
Kanto PT300
User Manual
-
 Kanto R500
User Manual
Kanto R500
User Manual
-
 Kanto SB100
User Manual
Kanto SB100
User Manual
-
 Kanto SB200
User Manual
Kanto SB200
User Manual
-
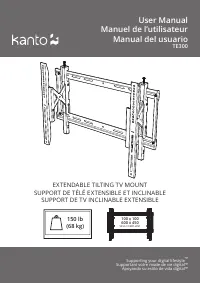 Kanto TE300
User Manual
Kanto TE300
User Manual
-
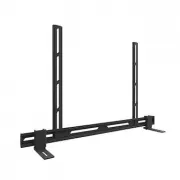
 Kanto TTS100
User Manual
Kanto TTS100
User Manual