ILVE ILD32B - Manuals

User Manual ILVE ILD32B


Summary
3 Dear customer, Congratulations on your purchase of a ILVE induction ceramic hob. In order to make the best use of your appliance, please carefully read the following use and care manual and keep it for later reference. SUMMARY SAFETY ...................................................................
4 SAFETY Precautions before using • Unpack all the materials. • The installation and connection of the appliance must be done by approved and qualified specialists. The manufacturer cannot be responsible for damage caused by installation or connection errors. • When used, the appliance must be corre...
5 • In general, do not place any metallic object except heating containers on the glass surface. In case of untimely activation or residual heat, they may heat, melt or even burn. • Never cover the appliance with a cloth or a protection sheet. This may become very hot and catch fire. • This applianc...
ILVE Hobs Manuals
-
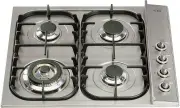
 ILVE H30CVSS
User Manual
ILVE H30CVSS
User Manual
-
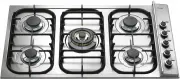
 ILVE H30PFVX
User Manual
ILVE H30PFVX
User Manual
-
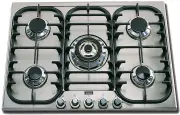
 ILVE H30PVX
User Manual
ILVE H30PVX
User Manual
-
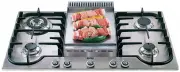
 ILVE H30VSS
User Manual
ILVE H30VSS
User Manual
-
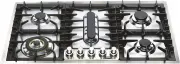
 ILVE H360CSS
User Manual
ILVE H360CSS
User Manual
-
 ILVE H360CV
User Manual
ILVE H360CV
User Manual
-
 ILVE H39CV/I
User Manual
ILVE H39CV/I
User Manual
-
 ILVE H39PCSS
User Manual
ILVE H39PCSS
User Manual
-
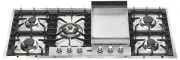
 ILVE H70CVX
User Manual
ILVE H70CVX
User Manual
-
 ILVE H90FCVX
User Manual
ILVE H90FCVX
User Manual
-
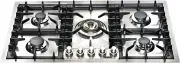
 ILVE H90SDV-I
User Manual
ILVE H90SDV-I
User Manual
-
 ILVE HCB70CSS
User Manual
ILVE HCB70CSS
User Manual
-
 ILVE HCB90FCSS
User Manual
ILVE HCB90FCSS
User Manual
-
 ILVE HCB90SDSS
User Manual
ILVE HCB90SDSS
User Manual
-
 ILVE HP1230DT
User Manual
ILVE HP1230DT
User Manual
-
 ILVE HP125FDT
User Manual
ILVE HP125FDT
User Manual
-
 ILVE HP95DT
User Manual
ILVE HP95DT
User Manual
-
 ILVE HP95FCSS
User Manual
ILVE HP95FCSS
User Manual
-
 ILVE HP95FDT
User Manual
ILVE HP95FDT
User Manual
-
 ILVE HP95PDT
User Manual
ILVE HP95PDT
User Manual