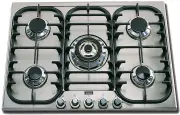
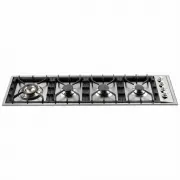
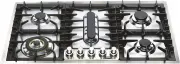
ILVE H90FCVX - Manuals
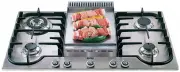
User Manual ILVE H90FCVX


Summary
OPEN 24 / 7 ILVE ACCESSORIES ONLINE SHOP For a wide range of coffee machines, pods, and other ILVE accessories at the click of a button shop.ilve.com.au
Safety Precautions 6 Operating Instructions 7 Operating your gas cook top 8 Cooktop Installation Instructions 16 Installation - Gas Supply 18 Installation - Electrical Supply 19 Adaptation to Different Types of Gas 21 Installation Instructions 22 Ancillary Service Information 24 Guarantee 25 Cleanin...
Safety Precautions Before installing and operating the hotplate, read these instructions completely and carefully. IMPORTANT To be installed only by an authorised person - Remove all packaging material and literature from the hotplate before connecting the gas and electrical supplies INSTALLATION – ...
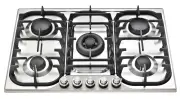
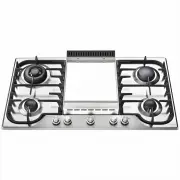
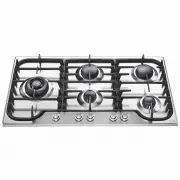
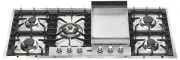
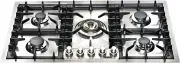
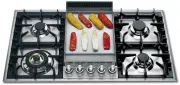
ILVE Hobs Manuals
-
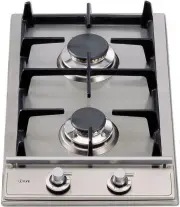
 ILVE H30CVSS
User Manual
ILVE H30CVSS
User Manual
-
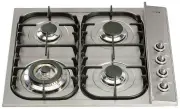
 ILVE H30PFVX
User Manual
ILVE H30PFVX
User Manual
-
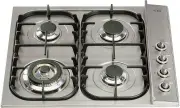
 ILVE H30PVX
User Manual
ILVE H30PVX
User Manual
-
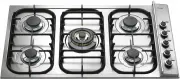
 ILVE H30VSS
User Manual
ILVE H30VSS
User Manual
-
 ILVE H360CSS
User Manual
ILVE H360CSS
User Manual
-
 ILVE H360CV
User Manual
ILVE H360CV
User Manual
-
 ILVE H39CV/I
User Manual
ILVE H39CV/I
User Manual
-
 ILVE H39PCSS
User Manual
ILVE H39PCSS
User Manual
-
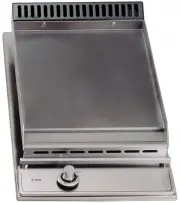
 ILVE H70CVX
User Manual
ILVE H70CVX
User Manual
-
 ILVE H90SDV-I
User Manual
ILVE H90SDV-I
User Manual
-
 ILVE HCB70CSS
User Manual
ILVE HCB70CSS
User Manual
-
 ILVE HCB90FCSS
User Manual
ILVE HCB90FCSS
User Manual
-
 ILVE HCB90SDSS
User Manual
ILVE HCB90SDSS
User Manual
-
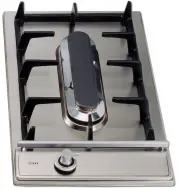
 ILVE HP1230DT
User Manual
ILVE HP1230DT
User Manual
-
 ILVE HP125FDT
User Manual
ILVE HP125FDT
User Manual
-
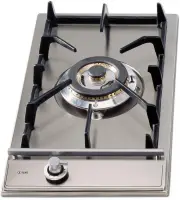
 ILVE HP95DT
User Manual
ILVE HP95DT
User Manual
-
 ILVE HP95FCSS
User Manual
ILVE HP95FCSS
User Manual
-
 ILVE HP95FDT
User Manual
ILVE HP95FDT
User Manual
-
 ILVE HP95PDT
User Manual
ILVE HP95PDT
User Manual
-
 ILVE ILBV604
User Manual
ILVE ILBV604
User Manual