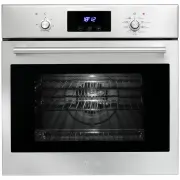
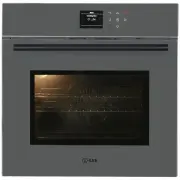
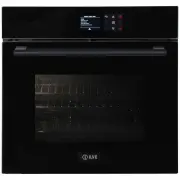
ILVE 940SKMPI - Manuals
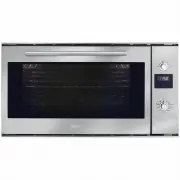
User Manual ILVE 940SKMPI


Summary
DEAR CUSTOMER, We thank you and con- gratulate you on your choice. This new carefully designed product, manufactured with the highest quality mate- rials, has been carefully tested to satisfy all your cooking demands. We would therefore request you to read and follow these easy instructions which ...
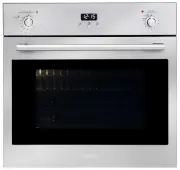
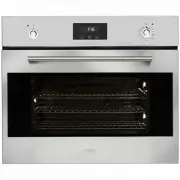
CONTROL PANEL FUNCTIONS FUNCTION SYMBOLS ON THE SELECTOR Oven light (stays on while oven is in use). Bottom heating element. Thermostat setting from 50°C to MAX. Top and bottom heating elements. Thermostat setting from 50°C to MAX. Top and bottom heating elements with fan. Thermo- stat setting from ...
INSTRUCTIONS FOR USE CONVENTIONAL COOKING Conventional cooking uses top and bottom heat to cook a single dish. Place the food in the oven only once cooking temperature has been reached, i.e. when the heating indicator goes out. If you want to increase top or bottom temperature to- wards the end of...
ILVE Ovens Manuals
-
 ILVE 200SPYKMPI
User Manual
ILVE 200SPYKMPI
User Manual
-
 ILVE 201WMPSS
User Manual
ILVE 201WMPSS
User Manual
-
 ILVE 600LVGLPG
User Manual
ILVE 600LVGLPG
User Manual
-
 ILVE 600LVGNG
User Manual
ILVE 600LVGNG
User Manual
-
 ILVE 600SKMI
User Manual
ILVE 600SKMI
User Manual
-
 ILVE 600SKMPI
User Manual
ILVE 600SKMPI
User Manual
-
 ILVE 600SPYKTI
User Manual
ILVE 600SPYKTI
User Manual
-
 ILVE 600SPYKTI2
User Manual
ILVE 600SPYKTI2
User Manual
-
 ILVE 600SPYTCBV
User Manual
ILVE 600SPYTCBV
User Manual
-
 ILVE 600SPYTCGV
User Manual
ILVE 600SPYTCGV
User Manual
-
 ILVE 600SPYTCI
User Manual
ILVE 600SPYTCI
User Manual
-
 ILVE 600SVGI
User Manual
ILVE 600SVGI
User Manual
-
 ILVE 600SXMPSS
User Manual
ILVE 600SXMPSS
User Manual
-
 ILVE 600TCBV
User Manual
ILVE 600TCBV
User Manual
-
 ILVE 600TCGV
User Manual
ILVE 600TCGV
User Manual
-
 ILVE 600TCI
User Manual
ILVE 600TCI
User Manual
-
 ILVE 645LTKST
User Manual
ILVE 645LTKST
User Manual
-
 ILVE 700WMPSS
User Manual
ILVE 700WMPSS
User Manual
-
 ILVE 750SKMPI
User Manual
ILVE 750SKMPI
User Manual
-
 ILVE 750SPYKTI
User Manual
ILVE 750SPYKTI
User Manual