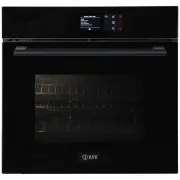
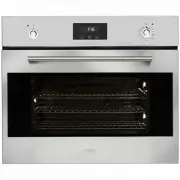
ILVE 750SPYKTI - Manuals
User Manual ILVE 750SPYKTI


Summary
OPEN 24 / 7 ILVE ACCESSORIES ONLINE SHOP For a wide range of coffee machines, pods, and other ILVE accessories at the click of a button shop.ilve.com.au
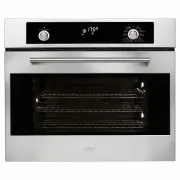
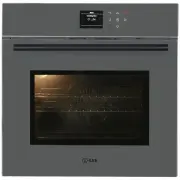
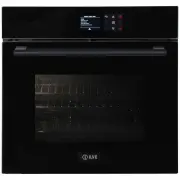
Safety Warnings Built-In Oven - 750SPYKTI • The appliance is not intended for use by persons (including children) with reduced physical, sensory or mental capabilities, or lack of experience and knowledge, unless they have been given supervised or instruction concerning use of the appliance by a res...
EN 2 • Do not disassemble any parts prior to having disconnected the oven from the mains. • Do not use the appliance if any part is broken (for example a glass). Disconnect it from the mains and call service. • Before using the oven, it is recommended to make it operate at noload at the maximum temp...
ILVE Ovens Manuals
-
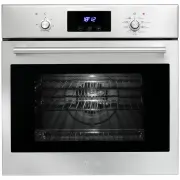
 ILVE 200SPYKMPI
User Manual
ILVE 200SPYKMPI
User Manual
-
 ILVE 201WMPSS
User Manual
ILVE 201WMPSS
User Manual
-
 ILVE 600LVGLPG
User Manual
ILVE 600LVGLPG
User Manual
-
 ILVE 600LVGNG
User Manual
ILVE 600LVGNG
User Manual
-
 ILVE 600SKMI
User Manual
ILVE 600SKMI
User Manual
-
 ILVE 600SKMPI
User Manual
ILVE 600SKMPI
User Manual
-
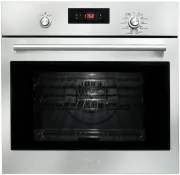 ILVE 600SPYKTI
User Manual
ILVE 600SPYKTI
User Manual
-
 ILVE 600SPYKTI2
User Manual
ILVE 600SPYKTI2
User Manual
-
 ILVE 600SPYTCBV
User Manual
ILVE 600SPYTCBV
User Manual
-
 ILVE 600SPYTCGV
User Manual
ILVE 600SPYTCGV
User Manual
-
 ILVE 600SPYTCI
User Manual
ILVE 600SPYTCI
User Manual
-
 ILVE 600SVGI
User Manual
ILVE 600SVGI
User Manual
-
 ILVE 600SXMPSS
User Manual
ILVE 600SXMPSS
User Manual
-
 ILVE 600TCBV
User Manual
ILVE 600TCBV
User Manual
-
 ILVE 600TCGV
User Manual
ILVE 600TCGV
User Manual
-
 ILVE 600TCI
User Manual
ILVE 600TCI
User Manual
-
 ILVE 645LTKST
User Manual
ILVE 645LTKST
User Manual
-
 ILVE 700WMPSS
User Manual
ILVE 700WMPSS
User Manual
-
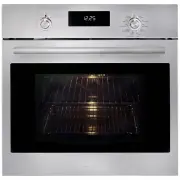
 ILVE 750SKMPI
User Manual
ILVE 750SKMPI
User Manual
-
 ILVE 750SPYTCI
User Manual
ILVE 750SPYTCI
User Manual