Hallman HCLRDF30CMWT - Manuals
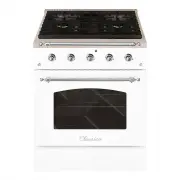
User Manual Hallman HCLRDF30CMWT


Summary
Thank you for purchasing your Hallman professional Range. We appreciate your business and we recommend that you read this entire user’s manual before operating your new appliance for the first time.This manual contains instructions on how to properly install and set up your new range, as well as ins...
Contents Safety Instructions ……………………………………………………………. 4~5Unpackage instruction …………………………………………………………6Installation Instructions ………………………………………………………. 7~17Cooktop Operation …………………………………………………………… 18~19Oven Operation ………………………………………………………………. 20~21Broiler Operation ……………………………………………………………... 22Gridd...
SAFETY INSTRUCTIONS Definitions This is a safety alert symbol. It will alert you to potential personal or property safety hazards. Obey all safety messages to avoid any property damage, personal injury or death. WARNING indicates a potentially hazardous situation which, if not avoided, could result ...
Hallman Ranges Manuals
-
 Hallman HBRDF30BSGB
User Manual
Hallman HBRDF30BSGB
User Manual
-
 Hallman HBRDF30BSGB-LP
User Manual
Hallman HBRDF30BSGB-LP
User Manual
-
 Hallman HBRDF30BSMG
User Manual
Hallman HBRDF30BSMG
User Manual
-
 Hallman HBRDF30BSMG-LP
User Manual
Hallman HBRDF30BSMG-LP
User Manual
-
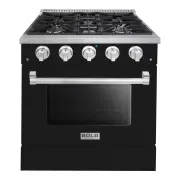
 Hallman HBRDF30BSSS
User Manual
Hallman HBRDF30BSSS
User Manual
-
 Hallman HBRDF30BSSS-LP
User Manual
Hallman HBRDF30BSSS-LP
User Manual
-
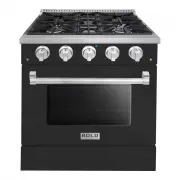
 Hallman HBRDF30BSWT
User Manual
Hallman HBRDF30BSWT
User Manual
-
 Hallman HBRDF30BSWT-LP
User Manual
Hallman HBRDF30BSWT-LP
User Manual
-
 Hallman HBRDF30CMAW
User Manual
Hallman HBRDF30CMAW
User Manual
-
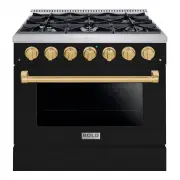
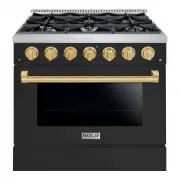
 Hallman HBRDF30CMGB
User Manual
Hallman HBRDF30CMGB
User Manual
-
 Hallman HBRDF30CMGB-LP
User Manual
Hallman HBRDF30CMGB-LP
User Manual
-
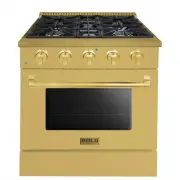
 Hallman HBRDF30CMMG
User Manual
Hallman HBRDF30CMMG
User Manual
-
 Hallman HBRDF30CMMG-LP
User Manual
Hallman HBRDF30CMMG-LP
User Manual
-
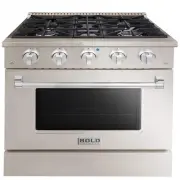 Hallman HBRDF30CMSS
User Manual
Hallman HBRDF30CMSS
User Manual
-
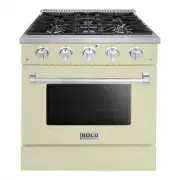
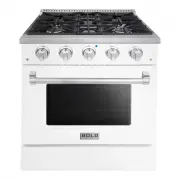 Hallman HBRDF30CMWT
User Manual
Hallman HBRDF30CMWT
User Manual
-
 Hallman HBRDF30CMWT-LP
User Manual
Hallman HBRDF30CMWT-LP
User Manual
-
 Hallman HBRDF30GDGD
User Manual
Hallman HBRDF30GDGD
User Manual
-
 Hallman HBRDF36BSGB
User Manual
Hallman HBRDF36BSGB
User Manual
-
 Hallman HBRDF36BSGB-LP
User Manual
Hallman HBRDF36BSGB-LP
User Manual
-
 Hallman HBRDF36BSMG
User Manual
Hallman HBRDF36BSMG
User Manual