Haier QVM7167BNTS - Manuals
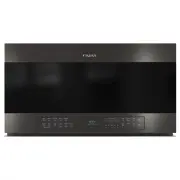
User Manual Haier QVM7167BNTS
1

2

3

4

5

6

7

8

9

10

11

12

13

14

15

16

17

18

19

20

21

22

23

24

25

26

27

28

29

30

31

32

33

34

35

36

37

38

39

40

41

42

43

44

45

46

47

48

49

Summary
Page 2 - ENGLISH
Page 3 - TABLE OF CONTENTS; RECORD KEEPING
49-2000650 Rev. 1 3 ENGLISH TABLE OF CONTENTS SAFTEY INFORMATION . . . . . . . . . . . . . . . . . . . . . . . . . . . . . . . . . . . . . . . . . . . . . . . . . . . . . . . . . . . . . . . . . . . . . . . . . . . . . . . . . . . . . . . . . . . 4 USING THE MICROWAVE . . . . . . . . . . . . . . . ....
Page 4 - WARNING; INSTALLATION; READ ALL INSTRUCTIONS BEFORE USING THE APPLIANCE
4 49-2000650 Rev. 1 ENGLISH WARNING To reduce the risk of burns, electric shock, fire, injury to persons, or exposure to excessive microwave energy: When using electrical appliances, basic safety precautions should be followed, including the following: • Read all instructions before using this appli...