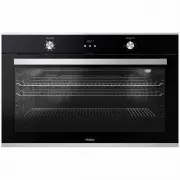
Haier HWO60S14EPB4 - Manuals
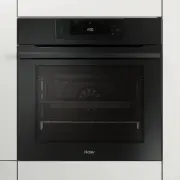
User Manual Haier HWO60S14EPB4


Summary
General i nstruct ons Product descr pt on Control panel Oven clean ng and ma ntenance Pyrolysis Troubleshooting 3 10 12 14 21 23 24 Summary Safety and warn i ngs EN 02 Installa t on 27
SAFETY AND WARNINGS Your oven has been carefully des gned to operate safely dur ng normal cook ng procedures. Please keep the follow ng safety nstruct ons n m nd when you are us ng t: Electr cal Shock Hazard Turn the oven off at the wall before replac ng the oven lamp or before carrying out any work...
Hot Surface Hazard Access ble parts may become hot when n use. To avo d burns and scalds, be careful not to touch any hot part and keep ch ldren away.Use oven m tts or other protect on when handl ng hot surfaces such as oven shelves or d shes.Use care when open ng the oven door. Let hot a r or steam...
Haier Ovens Manuals
-
 Haier HOR54B7MSW1
User Manual
Haier HOR54B7MSW1
User Manual
-
 Haier HOR54S5CW1
User Manual
Haier HOR54S5CW1
User Manual
-
 Haier HOR90S9MSX1
User Manual
Haier HOR90S9MSX1
User Manual
-
 Haier HWO60S7EX1
User Manual
Haier HWO60S7EX1
User Manual
-
 Haier HWO60S7EX2
User Manual
Haier HWO60S7EX2
User Manual
-
 Haier HWO60S7EX4
User Manual
Haier HWO60S7EX4
User Manual
-
 Haier HWO60S7MB3
User Manual
Haier HWO60S7MB3
User Manual
-
 Haier HWO90S10EX2
User Manual
Haier HWO90S10EX2
User Manual
-
 Haier HOD-PF08TGB
Manual
Haier HOD-PF08TGB
Manual
-
 Haier HOD-PM08TGB
Manual
Haier HOD-PM08TGB
Manual
-
 Haier HOD-PM08VGBX
Manual
Haier HOD-PM08VGBX
Manual
-
 Haier HOD-TM09PGB
Manual
Haier HOD-TM09PGB
Manual