Haier HOR54B5MGW1 - Manuals

User Manual Haier HOR54B5MGW1


Summary
1 DEAR CUSTOMER This appliance has been designed to be efficient and easy to use. The following instructions will show you how to best operate your appliance to enjoy years of hassle-free use. It is important to keep this instruction manual and store it in a safe place so that it can be consulted at...
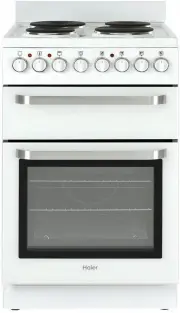
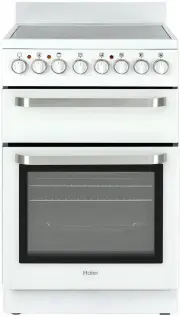
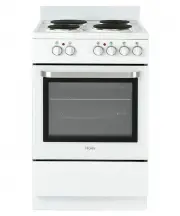
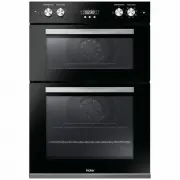
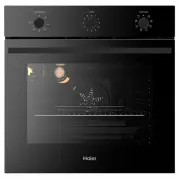
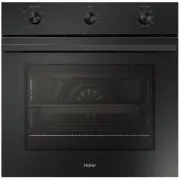
5 DESCRIPTION OF THE APPLIANCE 6 Main ovencontrol knob Top oven/grillcontrol knob Top burners control knob Top ovenindicator light HOW TO SAVE ENERGY UNPACKING Using energy in a responsible way not only saves money but also helps the environment. So let’s save energy and this is how you can do it: ●...
INSTALLATION 7 8 INSTALLATION This appliance must be installed by an authorised person in accordance with this instruction manual, AS/NZS 5601.1-Gas installations (installation and pipe sizing), local gas fitting regulations, local electrical regulations, Building Code of Australia and any other gov...
Haier Ovens Manuals
-
 Haier HOR54B5MCW1
User Manual
Haier HOR54B5MCW1
User Manual
-
 Haier HOR54B7MSW1
User Manual
Haier HOR54B7MSW1
User Manual
-
 Haier HOR54S5CW1
User Manual
Haier HOR54S5CW1
User Manual
-
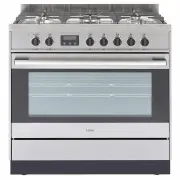 Haier HOR90S9MSX1
User Manual
Haier HOR90S9MSX1
User Manual
-
 Haier HWO60B7EX2
User Manual
Haier HWO60B7EX2
User Manual
-
 Haier HWO60S10TPB2
User Manual
Haier HWO60S10TPB2
User Manual
-
 Haier HWO60S10TPX2
User Manual
Haier HWO60S10TPX2
User Manual
-
 Haier HWO60S10TX1
User Manual
Haier HWO60S10TX1
User Manual
-
 Haier HWO60S11TPX1
User Manual
Haier HWO60S11TPX1
User Manual
-
 Haier HWO60S14EPB4
User Manual
Haier HWO60S14EPB4
User Manual
-
 Haier HWO60S14EPX4
User Manual
Haier HWO60S14EPX4
User Manual
-
 Haier HWO60S14TPB2
User Manual
Haier HWO60S14TPB2
User Manual
-
 Haier HWO60S7EB4
User Manual
Haier HWO60S7EB4
User Manual
-
 Haier HWO60S7EG4
User Manual
Haier HWO60S7EG4
User Manual
-
 Haier HWO60S7ELG4
User Manual
Haier HWO60S7ELG4
User Manual
-
 Haier HWO60S7EX1
User Manual
Haier HWO60S7EX1
User Manual
-
 Haier HWO60S7EX2
User Manual
Haier HWO60S7EX2
User Manual
-
 Haier HWO60S7EX4
User Manual
Haier HWO60S7EX4
User Manual
-
 Haier HWO60S7MB3
User Manual
Haier HWO60S7MB3
User Manual
-
 Haier HWO60S7MB4
User Manual
Haier HWO60S7MB4
User Manual