Grundig WR 5408 PLL - Manuals
Grundig WR 5408 PLL – Manual in PDF format online.
Manuals:
Manual Grundig WR 5408 PLL


Summary
ENGLISH 21 Safety To ensure that this device provides you with long-term satisfaction andenjoyment, please observe the following instructions. This device is designed for the playback of audio signals.Any other use is expressly prohibited.Protect the device from moisture (water drops or splashes). D...
22 Controls OVERVIEW ___________________________________________ Front ON/OFF Switches the device on and off. SLEEP For setting the sleep timer. DISPLAY Switches the display between the frequency and time whilethe radio is on. ALARM Selects the signal tone alarm. ALARM Selects the radio alarm. LOCK ...
24 OVERVIEW ____________________________________ 0 Earphone socket (3.5 mm stereo socket).Automatically switches off the loudspeaker. DC 6 V Connection socket for mains adapter (not supplied), input Ó voltage 6 V (200 mA). Top of device ANTENNA Telescopic antenna for FM and SW reception. Bottom of d...
Grundig Manuals
-
 Grundig GEBM19300BC
Manual
Grundig GEBM19300BC
Manual
-
 Grundig GEBD19401BHI
Manual
Grundig GEBD19401BHI
Manual
-
 Grundig GEBM19400BCH
Manual
Grundig GEBM19400BCH
Manual
-
 Grundig GEBD19300B
Manual
Grundig GEBD19300B
Manual
-
 Grundig GEBM19300BP
Manual
Grundig GEBM19300BP
Manual
-
 Grundig GEBM19400BPHI
Manual
Grundig GEBM19400BPHI
Manual
-
 Grundig GEDM12300B
Manual
Grundig GEDM12300B
Manual
-
 Grundig GEBD19301B
Manual
Grundig GEBD19301B
Manual
-
 Grundig GEBM11300XC
Manual
Grundig GEBM11300XC
Manual
-
 Grundig GEBM11301XC
Manual
Grundig GEBM11301XC
Manual
-
 Grundig GIEI638980IF
Manual
Grundig GIEI638980IF
Manual
-
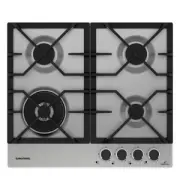
 Grundig GIEI624470PF
Manual
Grundig GIEI624470PF
Manual
-
 Grundig GIEI938980I
Manual
Grundig GIEI938980I
Manual
-
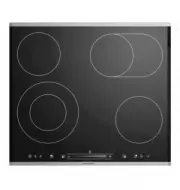
 Grundig GIEV613420E
Manual
Grundig GIEV613420E
Manual
-
 Grundig GIGL6234250
Manual
Grundig GIGL6234250
Manual
-
 Grundig GIEI623410MX
Manual
Grundig GIEI623410MX
Manual
-
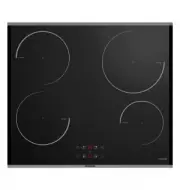
 Grundig GIEV624430X
Manual
Grundig GIEV624430X
Manual
-
 Grundig GIGA6234260XE
Manual
Grundig GIGA6234260XE
Manual
-
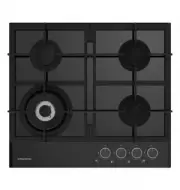
 Grundig GIEI627474PN
Manual
Grundig GIEI627474PN
Manual
-
 Grundig S450DLX
Manual
Grundig S450DLX
Manual