Grundig GLCD4000HD, GLCD4600HD - Manuals
Grundig GLCD4000HD, GLCD4600HD – Manual in PDF format online.
Manuals:
Manual Grundig GLCD4000HD, GLCD4600HD


Summary
Installation 3 Remote control handset 4-5 Controls 4 Battery installation 5 Controls of Front panel 6 Connections of Back panel 7 Connection to External equipment 8-12 Basic operation On and Off 13 Programme selection 13 Volume adjustment 13 On screen language selection 13 On screen menus Menu selec...
Power This set operates on an AC mains supply, the voltage is asindicated on the label on the back cover. Never apply DCpower to the set. In the event of thunderstorms or power-cuts, please pull out the aerial and mains plugs. Warning To prevent fire or shock hazard, do not expose the set torain or ...
- All the functions can be controlled with the remote control handset.- Some functions can also be adjusted with the buttons on the front panel of the set. Remote control handset Controls Before you use the remotecontrol handset, pleaseinstall the batteries. 4 NUMBER BUTTONS i BUTTON selects a menu....
Grundig Manuals
-
 Grundig GEBM19300BC
Manual
Grundig GEBM19300BC
Manual
-
 Grundig GEBD19401BHI
Manual
Grundig GEBD19401BHI
Manual
-
 Grundig GEBM19400BCH
Manual
Grundig GEBM19400BCH
Manual
-
 Grundig GEBD19300B
Manual
Grundig GEBD19300B
Manual
-
 Grundig GEBM19300BP
Manual
Grundig GEBM19300BP
Manual
-
 Grundig GEBM19400BPHI
Manual
Grundig GEBM19400BPHI
Manual
-
 Grundig GEDM12300B
Manual
Grundig GEDM12300B
Manual
-
 Grundig GEBD19301B
Manual
Grundig GEBD19301B
Manual
-
 Grundig GEBM11300XC
Manual
Grundig GEBM11300XC
Manual
-
 Grundig GEBM11301XC
Manual
Grundig GEBM11301XC
Manual
-
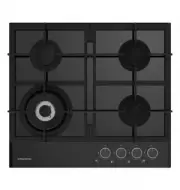
 Grundig GIEI638980IF
Manual
Grundig GIEI638980IF
Manual
-
 Grundig GIEI624470PF
Manual
Grundig GIEI624470PF
Manual
-
 Grundig GIEI938980I
Manual
Grundig GIEI938980I
Manual
-
 Grundig GIEV613420E
Manual
Grundig GIEV613420E
Manual
-
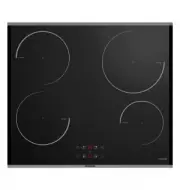
 Grundig GIGL6234250
Manual
Grundig GIGL6234250
Manual
-
 Grundig GIEI623410MX
Manual
Grundig GIEI623410MX
Manual
-
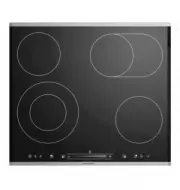 Grundig GIEV624430X
Manual
Grundig GIEV624430X
Manual
-
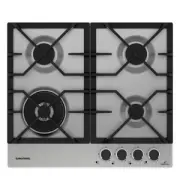 Grundig GIGA6234260XE
Manual
Grundig GIGA6234260XE
Manual
-
 Grundig GIEI627474PN
Manual
Grundig GIEI627474PN
Manual
-
 Grundig S450DLX
Manual
Grundig S450DLX
Manual