Grundig E100 - Manuals
Grundig E100 – Manual in PDF format online.
Manuals:
Manual Grundig E100


Summary
5 MAJOR FEATURES OF THE E100 • SHORTWAVE: 1711 - 29.995 KHz • FM 87.0 - 108.0MHz; MW 520 - 1710 • Manual and Auto-Scan Tuning • Direct Keypad Frequency Entry • Manual/Auto Scan to scan the preset stations • Fine-Tuning Control Knob • 200 Random Programmable Memories • Memory Page Customizing • 9/10K...
7 E100 OPERATION MANUAL 6 7 DIAGRAMS continued RADIO OFF DISPLAY RADIO ON DISPLAY Battery Symbol Antenna Symbol 1-5 Scale Alarm AM/PM Indicator AlarmClockDigits AlarmActivationSymbol Clock Digits Time AM/PMIndicator Triangle Pointer Clock Digits Alarm ActivationSymbol Battery Symbol Antenna Symbol 1...
4 GETTING STARTED 9 E100 OPERATION MANUAL 8 9 5 BASIC RADIO OPERATION IMPORTANT INITIAL SET-UP 1. Assure that the radio is unlocked, using the LOCK switch (24) on right side of the radio by pushing it down, to the OFF position. Thisswitch can be used to lock the radio when it is not in use or whentr...
Grundig Manuals
-
 Grundig GEBM19300BC
Manual
Grundig GEBM19300BC
Manual
-
 Grundig GEBD19401BHI
Manual
Grundig GEBD19401BHI
Manual
-
 Grundig GEBM19400BCH
Manual
Grundig GEBM19400BCH
Manual
-
 Grundig GEBD19300B
Manual
Grundig GEBD19300B
Manual
-
 Grundig GEBM19300BP
Manual
Grundig GEBM19300BP
Manual
-
 Grundig GEBM19400BPHI
Manual
Grundig GEBM19400BPHI
Manual
-
 Grundig GEDM12300B
Manual
Grundig GEDM12300B
Manual
-
 Grundig GEBD19301B
Manual
Grundig GEBD19301B
Manual
-
 Grundig GEBM11300XC
Manual
Grundig GEBM11300XC
Manual
-
 Grundig GEBM11301XC
Manual
Grundig GEBM11301XC
Manual
-
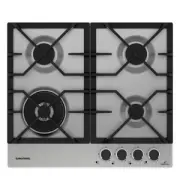
 Grundig GIEI638980IF
Manual
Grundig GIEI638980IF
Manual
-
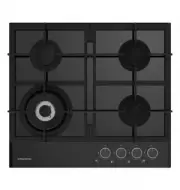
 Grundig GIEI624470PF
Manual
Grundig GIEI624470PF
Manual
-
 Grundig GIEI938980I
Manual
Grundig GIEI938980I
Manual
-
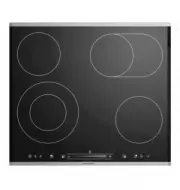
 Grundig GIEV613420E
Manual
Grundig GIEV613420E
Manual
-
 Grundig GIGL6234250
Manual
Grundig GIGL6234250
Manual
-
 Grundig GIEI623410MX
Manual
Grundig GIEI623410MX
Manual
-
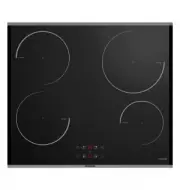
 Grundig GIEV624430X
Manual
Grundig GIEV624430X
Manual
-
 Grundig GIGA6234260XE
Manual
Grundig GIGA6234260XE
Manual
-
 Grundig GIEI627474PN
Manual
Grundig GIEI627474PN
Manual
-
 Grundig S450DLX
Manual
Grundig S450DLX
Manual