Grundig cirflexx UMS 5400 DEC - Manuals
Grundig cirflexx UMS 5400 DEC – Manual in PDF format online.
Manuals:
Manual Grundig cirflexx UMS 5400 DEC


Summary
2 CONTENTS ____________________________________________ 3 Set-up and safety Environmental note 4 Overview The hi-fi system controlsThe hi-fi system displaysThe back of the hi-fi systemThe remote control 13 Connection and preparation 16 Settings Setting the timeSetting and storing radio channelsReset...
ENGLISH 3 Please note the following information when setting up the system: The hi-fi system is designed for the playback of audio signals. Any other useis expressly prohibited. If you want to set up the hi-fi system on wall shelves or in cupboards, pleaseensure that it is adequately ventilated. The...
4 The hi-fi system controls Controls on the front General information ON/OFF Switches the hi-fi off and tostandby mode.The only way to fully disconnect the hi-fi from themains supply is to pull theplug out. O Infrared sensor for remotecontrol signals. 0 Headphone jack for con-necting a stereo headph...
Grundig Manuals
-
 Grundig GEBM19300BC
Manual
Grundig GEBM19300BC
Manual
-
 Grundig GEBD19401BHI
Manual
Grundig GEBD19401BHI
Manual
-
 Grundig GEBM19400BCH
Manual
Grundig GEBM19400BCH
Manual
-
 Grundig GEBD19300B
Manual
Grundig GEBD19300B
Manual
-
 Grundig GEBM19300BP
Manual
Grundig GEBM19300BP
Manual
-
 Grundig GEBM19400BPHI
Manual
Grundig GEBM19400BPHI
Manual
-
 Grundig GEDM12300B
Manual
Grundig GEDM12300B
Manual
-
 Grundig GEBD19301B
Manual
Grundig GEBD19301B
Manual
-
 Grundig GEBM11300XC
Manual
Grundig GEBM11300XC
Manual
-
 Grundig GEBM11301XC
Manual
Grundig GEBM11301XC
Manual
-
 Grundig GIEI638980IF
Manual
Grundig GIEI638980IF
Manual
-
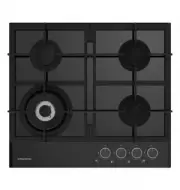
 Grundig GIEI624470PF
Manual
Grundig GIEI624470PF
Manual
-
 Grundig GIEI938980I
Manual
Grundig GIEI938980I
Manual
-
 Grundig GIEV613420E
Manual
Grundig GIEV613420E
Manual
-
 Grundig GIGL6234250
Manual
Grundig GIGL6234250
Manual
-
 Grundig GIEI623410MX
Manual
Grundig GIEI623410MX
Manual
-
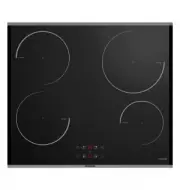
 Grundig GIEV624430X
Manual
Grundig GIEV624430X
Manual
-
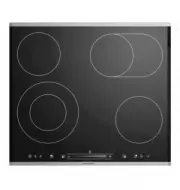
 Grundig GIGA6234260XE
Manual
Grundig GIGA6234260XE
Manual
-
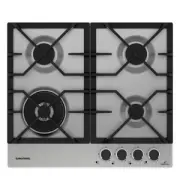
 Grundig GIEI627474PN
Manual
Grundig GIEI627474PN
Manual
-
 Grundig S450DLX
Manual
Grundig S450DLX
Manual