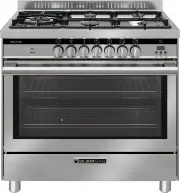
Glem Gas GL53GI - Manuals
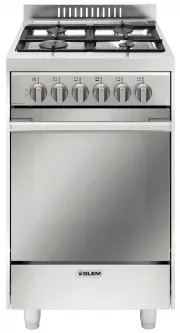
User Manual Glem Gas GL53GI


Summary
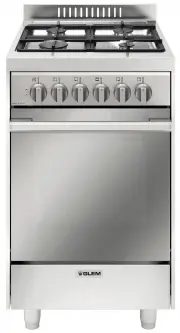
2 3 FIRST TIME USE IMPORTANT Remove all packing material and literature from the upright cooker before connecting the gas and electrical suppl y . A protective plastic film is coated on the stainless steel inside and on the outside of the cooker. It must be removed before use. Make sure all plastic ...
4 5 MOVING THE COOKER When moving the cooker always use two people. When installed this cooker complies with all safety requirements however care must be taken when moving the cooker as some sharp edges and corners that are not intended to be touched could cause injury. DO NOT LIFT USING THE HANDLE ...
6 7 INSTALLATION OF ANTI TILT BRACKET Install the legs to the cooker and adjust the height to the desired level. Make sure that this height is absolutely correct to what you require. On the rear of the cooker there is a covering panel. Accurately measure the distance from the top of this panel to th...
Glem Gas Ovens Manuals
-
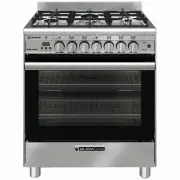
 Glem Gas GB534GE
User Manual
Glem Gas GB534GE
User Manual
-
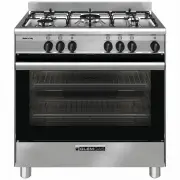
 Glem Gas GB534GG
User Manual
Glem Gas GB534GG
User Manual
-
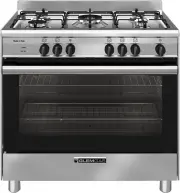
 Glem Gas GB664GE
User Manual
Glem Gas GB664GE
User Manual
-
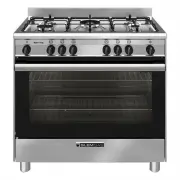
 Glem Gas GB664GG
User Manual
Glem Gas GB664GG
User Manual
-
 Glem Gas GB765DOP
User Manual
Glem Gas GB765DOP
User Manual
-
 Glem Gas GB865GE
User Manual
Glem Gas GB865GE
User Manual
-
 Glem Gas GB965GE
User Manual
Glem Gas GB965GE
User Manual
-
 Glem Gas GB965GG
User Manual
Glem Gas GB965GG
User Manual
-
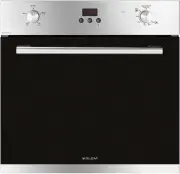
 Glem Gas GF64EEI
User Manual
Glem Gas GF64EEI
User Manual
-
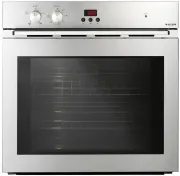
 Glem Gas GF64GEI
User Manual
Glem Gas GF64GEI
User Manual
-
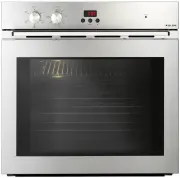
 Glem Gas GF64MEI
User Manual
Glem Gas GF64MEI
User Manual
-
 Glem Gas GF65MEI
User Manual
Glem Gas GF65MEI
User Manual
-
 Glem Gas GF69MEI
User Manual
Glem Gas GF69MEI
User Manual
-
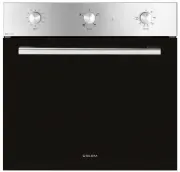
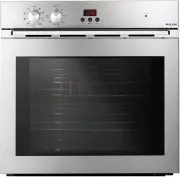
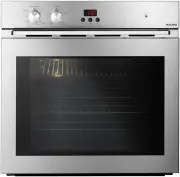
 Glem Gas GL53EI
User Manual
Glem Gas GL53EI
User Manual
-
 Glem Gas GL965EI
User Manual
Glem Gas GL965EI
User Manual
-
 Glem Gas GL965MVI
User Manual
Glem Gas GL965MVI
User Manual
-
 Glem Gas GMF61MVI
User Manual
Glem Gas GMF61MVI
User Manual
-
 Glem Gas GS965GE
User Manual
Glem Gas GS965GE
User Manual
-
 Glem Gas GS965GEN
User Manual
Glem Gas GS965GEN
User Manual
-
 Glem Gas GS965GG
User Manual
Glem Gas GS965GG
User Manual