Gasland Chef IH30BF-N1 - Manuals
User Manual Gasland Chef IH30BF-N1


Summary
4 not be affected by the electromagnetic field. • Failure to follow this advice may result in death. Hot Surface Hazard • During use, accessible parts of this appliance will become hot enough to cause burns. • Do not let your body, clothing or any item other than suitable cookware contact the Induct...
7 reduced physical,sensory or mental capabilities or lack of experience and knowledge if they have been given supervision or instruction concerning use of the appliance in a safe way and understand the hazards involved. • Children shall not play with the appliance. Cleaning and user maintenance shal...
8 be supervised continuously. WARNING:In order to prevent tipping of the appliance,this stabilizing means must be installed.Refer to the instructions for installation. WARNING:Use only hob guards designed by the manufactuer of the cooking appliance or indicated by the manufacture of the appliance in...
Gasland Chef Hobs Manuals
-
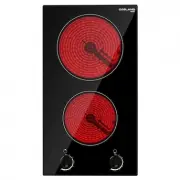
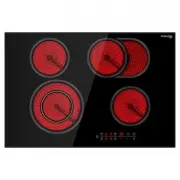
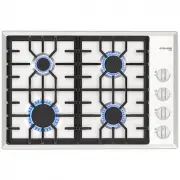
 Gasland Chef CH30BF
User Manual
Gasland Chef CH30BF
User Manual
-
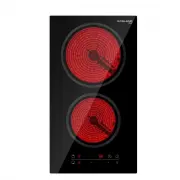
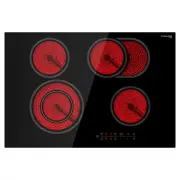
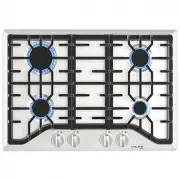
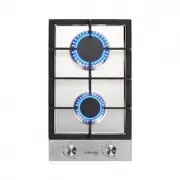
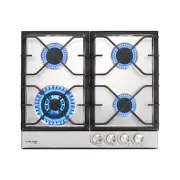
 Gasland Chef CH30BS
User Manual
Gasland Chef CH30BS
User Manual
-
 Gasland Chef CH775BF
User Manual
Gasland Chef CH775BF
User Manual
-
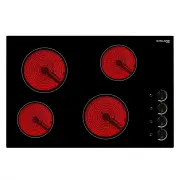
 Gasland Chef CH77BF
User Manual
Gasland Chef CH77BF
User Manual
-
 Gasland Chef CH77BF-N1
User Manual
Gasland Chef CH77BF-N1
User Manual
-
 Gasland Chef CH77BS
User Manual
Gasland Chef CH77BS
User Manual
-
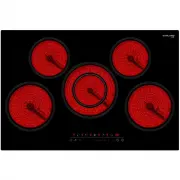
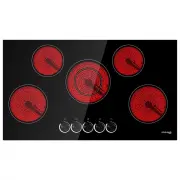 Gasland Chef CH90BS
User Manual
Gasland Chef CH90BS
User Manual
-
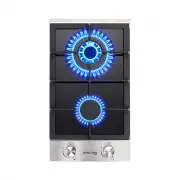
 Gasland Chef GH1304SF
User Manual
Gasland Chef GH1304SF
User Manual
-
 Gasland Chef GH1304SS
User Manual
Gasland Chef GH1304SS
User Manual
-
 Gasland Chef GH1305SF
User Manual
Gasland Chef GH1305SF
User Manual
-
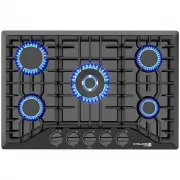
 Gasland Chef GH1365SF
User Manual
Gasland Chef GH1365SF
User Manual
-
 Gasland Chef GH2305EF
User Manual
Gasland Chef GH2305EF
User Manual
-
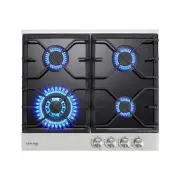
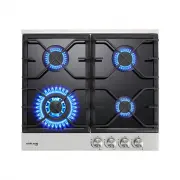
 Gasland Chef GH30BF-N1
User Manual
Gasland Chef GH30BF-N1
User Manual
-
 Gasland Chef GH30SF
User Manual
Gasland Chef GH30SF
User Manual
-
 Gasland Chef GH60BF
User Manual
Gasland Chef GH60BF
User Manual
-
 Gasland Chef GH60BF-N1
User Manual
Gasland Chef GH60BF-N1
User Manual
-
 Gasland Chef GH60SF
User Manual
Gasland Chef GH60SF
User Manual
-
 Gasland Chef GH60SF-N1
User Manual
Gasland Chef GH60SF-N1
User Manual
-
 Gasland Chef H90BF
User Manual
Gasland Chef H90BF
User Manual
-
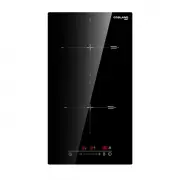
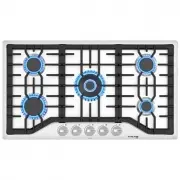
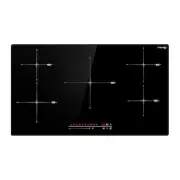
 Gasland Chef IH30BF
User Manual
Gasland Chef IH30BF
User Manual