Gaggenau VC 421-110 - Manuals

User Manual Gaggenau VC 421-110


Summary
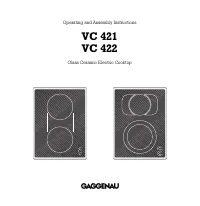
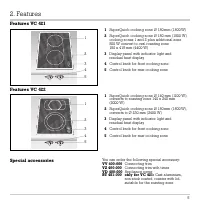
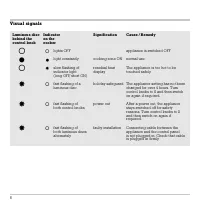
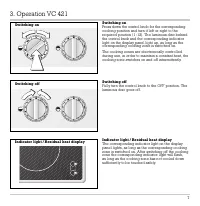
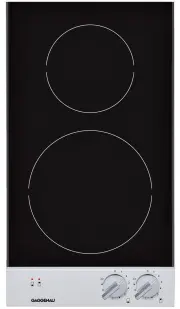
VC 421VC 422 1 1. Important Notes Page 3-4 For your safety Page 3 Operating for the first time Page 4 About use Page 4 2. Features Page 5-6 Features VC 421 Page 5 Features VC 422 Page 5 Special accessories Page 5 Visual signals Page 6 3. Operation VC 421 Page 7-8 Switching on and off Page 7 Indicato...
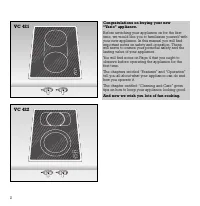
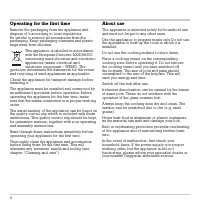
2 Congratulations on buying your new “Vario” appliance. Before switching your appliance on for the first time, we would like you to familiarize yourself withyour new appliance. In this manual you will findimportant notes on safety and operation. Thesewill serve to ensure your personal safety and the...
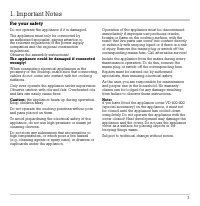
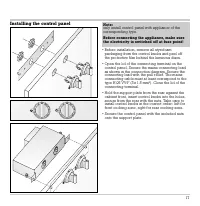
3 For your safety Do not operate the appliance if it is damaged. The appliance must only be connected by an authorised specialist, paying attention to the relevant regulations of the power supplycompanies and the regional constructionregulations. Observe the assembly instructions! The appliance coul...
Gaggenau Hobs Manuals
-
 Gaggenau CG 290-210
User Manual
Gaggenau CG 290-210
User Manual
-
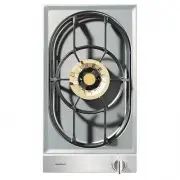
 Gaggenau CK 260-104
User Manual
Gaggenau CK 260-104
User Manual
-
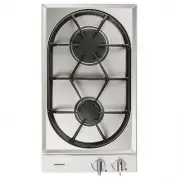
 Gaggenau CK 481-110
User Manual
Gaggenau CK 481-110
User Manual
-
 Gaggenau KG 260-234
User Manual
Gaggenau KG 260-234
User Manual
-
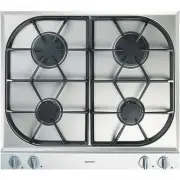
 Gaggenau VC 230-113
User Manual
Gaggenau VC 230-113
User Manual
-
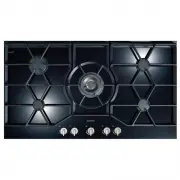
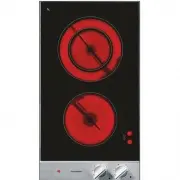
 Gaggenau VC 422-110
User Manual
Gaggenau VC 422-110
User Manual
-
 Gaggenau VG 231-231
User Manual
Gaggenau VG 231-231
User Manual
-
 Gaggenau VG 232-232
User Manual
Gaggenau VG 232-232
User Manual
-
 Gaggenau VG295250CA
User Manual
Gaggenau VG295250CA
User Manual
-
 Gaggenau VI 411-111
User Manual
Gaggenau VI 411-111
User Manual
-
 Gaggenau VI230-134
User Manual
Gaggenau VI230-134
User Manual