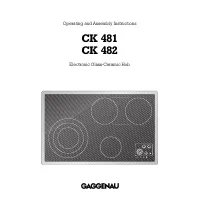
Gaggenau CK 481-110 - Manuals
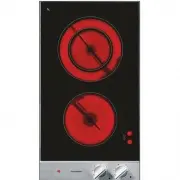
User Manual Gaggenau CK 481-110
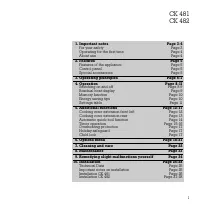


Summary
3 For your safety You must not operate the appliance if it is damaged. The appliance must only be connected by an authorised specialist, paying attention to the relevant regulations of the power supplycompanies and the regional constructionregulations. Observe the assembly instructions! The applianc...
4 Operating for the first time Remove the packaging from the appliance anddispose of it according to local regulations. Becareful to remove all accessories from thepackaging. Keep packaging elements and plasticbags away from children. This appliance is labelled in accordancewith the European Directi...
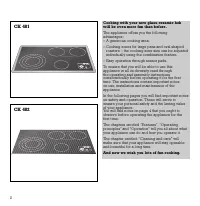
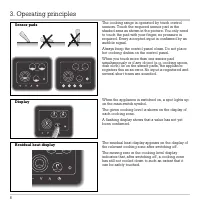
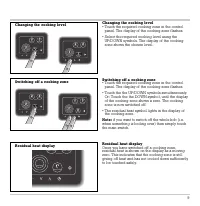
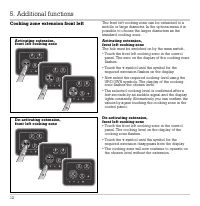
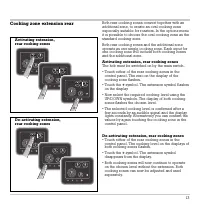
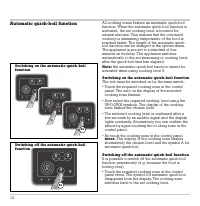
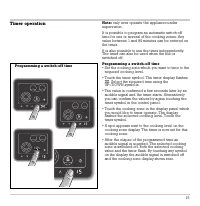
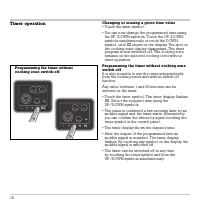
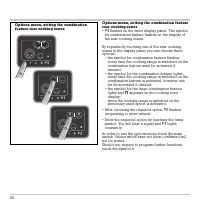
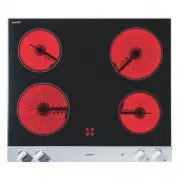
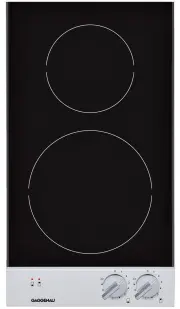
The cooking range is operated by touch controlsensors. Touch the required sensor pad in theshaded area as shown in the picture. You only needto touch the pad with your finger, no pressure isrequired. Every accepted input is confirmed by anaudible signal. Always keep the control panel clean. Do not p...
Gaggenau Hobs Manuals
-
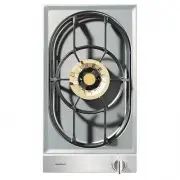
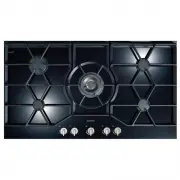 Gaggenau CG 290-210
User Manual
Gaggenau CG 290-210
User Manual
-
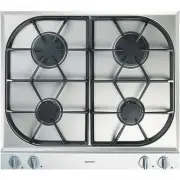
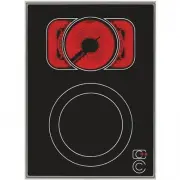
 Gaggenau CK 260-104
User Manual
Gaggenau CK 260-104
User Manual
-
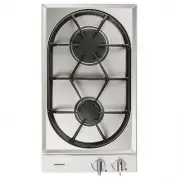
 Gaggenau KG 260-234
User Manual
Gaggenau KG 260-234
User Manual
-
 Gaggenau VC 230-113
User Manual
Gaggenau VC 230-113
User Manual
-
 Gaggenau VC 421-110
User Manual
Gaggenau VC 421-110
User Manual
-
 Gaggenau VC 422-110
User Manual
Gaggenau VC 422-110
User Manual
-
 Gaggenau VG 231-231
User Manual
Gaggenau VG 231-231
User Manual
-
 Gaggenau VG 232-232
User Manual
Gaggenau VG 232-232
User Manual
-
 Gaggenau VG295250CA
User Manual
Gaggenau VG295250CA
User Manual
-
 Gaggenau VI 411-111
User Manual
Gaggenau VI 411-111
User Manual
-
 Gaggenau VI230-134
User Manual
Gaggenau VI230-134
User Manual