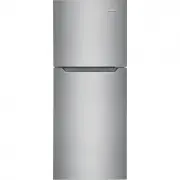
Frigidaire LFTR1835VF - Manuals
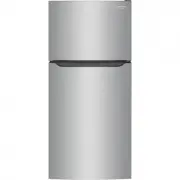
User Manual Frigidaire LFTR1835VF


Summary
2 WARNING WARNING indicates a potentially hazardous situation which, if not avoided, could result in death or serious injury. IMPORTANT IMPORTANT indicates installation, operation or maintenance information which is impor- tant but not hazard-related. DANGER DANGER indicates an imminently hazardous ...
3 IMPORTANT SAFETY INFORMATION Grounding type wall receptacle Power cord with 3-prong grounded plug Do not, under any circumstances, cut, remove, or bypass the grounding prong. Electrical information • The refrigerator must be plugged into its own dedicated 115 Volt, 60 Hz., 15 Amp, AC only electric...
4 FEATURES Features may vary according to model IMPORTANT Cleaning your Refrigerator Remove tape and glue residue from surfaces before turning the refrigerator on. Rub a small amount of liquid dish soap over the adhesive with your fingers. Rinse with warm water and dry with a soft cloth. Do not use ...
Frigidaire Refrigerators Manuals
-
 Frigidaire EFR749
User Manual
Frigidaire EFR749
User Manual
-
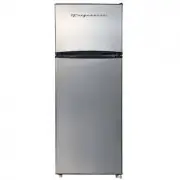
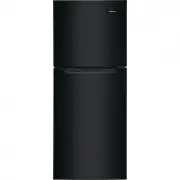
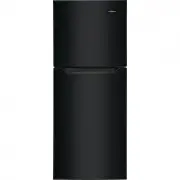
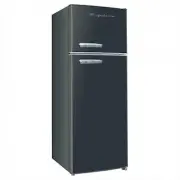 Frigidaire EFR753-BLACK
User Manual
Frigidaire EFR753-BLACK
User Manual
-
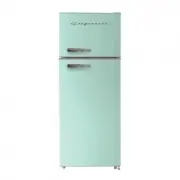 Frigidaire EFR753-MINT
User Manual
Frigidaire EFR753-MINT
User Manual
-
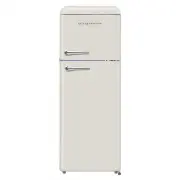 Frigidaire EFR756-CREAM
User Manual
Frigidaire EFR756-CREAM
User Manual
-
 Frigidaire FFET1022UB
User Manual
Frigidaire FFET1022UB
User Manual
-
Frigidaire FFET1022UB
Manual
-
 Frigidaire FFET1022UV
User Manual
Frigidaire FFET1022UV
User Manual
-
Frigidaire FFET1022UV
Manual
-
Frigidaire FFET1022UV
Installation Manual
-
Frigidaire FFET1022UW
User Manual
-
Frigidaire FFET1022UW
Manual
-
 Frigidaire FFET1222UB
Manual
Frigidaire FFET1222UB
Manual
-
 Frigidaire FFET1222UV
User Manual
Frigidaire FFET1222UV
User Manual
-
Frigidaire FFET1222UV
Manual
-
 Frigidaire FFET1222UW
User Manual
Frigidaire FFET1222UW
User Manual
-
 Frigidaire FFHT1425VB
User Manual
Frigidaire FFHT1425VB
User Manual
-
Frigidaire FFHT1425VB
Installation Manual
-
Frigidaire FFHT1425VB
Manual
-
 Frigidaire FFHT1425VV
User Manual
Frigidaire FFHT1425VV
User Manual
-
Frigidaire FFHT1425VV
Installation Manual