Frigidaire FPRU19F8WF - Manuals
Frigidaire FPRU19F8WF Refrigerator – User Manual, Installation Manual, Troubleshooting Guide, Manual in PDF format online.
User Manual Frigidaire FPRU19F8WF


Summary
2 INTRODUCTION Doors Handles are secure and tight Door seals completely to cabinet on all sides Door is level from side to side across the top Leveling Appliance is level, side to side and front to back Cabinet is setting solid on all corners Anti-tip bracket set in front (hinge side) El...
3 WARNING WARNING indicates a potentially haz- ardous situation which, if not avoided, could result in death or serious injury. IMPORTANT IMPORTANT indicates installation, oper- ation or maintenance information which is important but not hazard-related. DANGER DANGER indicates an imminently haz- ard...
4 IMPORTANT SAFETY INFORMATION Safety Instructions • DO NOT store or use gasoline, or other flammable liquid within or in the vicinity of this appliance. Read Product Label for warnings regarding flamma- bility and other hazards. • DO NOT store explosive substances such as aerosol cans with a flamma...
Installation Manual Frigidaire FPRU19F8WF


Summary
Troubleshooting Guide Frigidaire FPRU19F8WF


Summary
2 INTRODUCTION Doors Handles are secure and tight Door seals completely to cabinet on all sides Door is level from side to side across the top Leveling Appliance is level, side to side and front to back Cabinet is setting solid on all corners Anti-tip bracket set in front (hinge side) El...
3 WARNING WARNING indicates a potentially haz- ardous situation which, if not avoided, could result in death or serious injury. IMPORTANT IMPORTANT indicates installation, oper- ation or maintenance information which is important but not hazard-related. DANGER DANGER indicates an imminently haz- ard...
4 IMPORTANT SAFETY INFORMATION IMPORTANT CFC/HCFC Disposal Your old appliance may have a cooling system that used CFCs or HCFCs (chlo- rofluorocarbons or hydrochlorofluoro- carbons). CFCs and HCFCs are believed to harm stratospheric ozone if released to the atmosphere. Other refrigerants may also ca...
Manual Frigidaire FPRU19F8WF


Frigidaire Refrigerators Manuals
-
 Frigidaire EFR749
User Manual
Frigidaire EFR749
User Manual
-
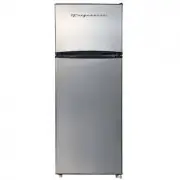
 Frigidaire EFR753-BLACK
User Manual
Frigidaire EFR753-BLACK
User Manual
-
 Frigidaire EFR753-MINT
User Manual
Frigidaire EFR753-MINT
User Manual
-
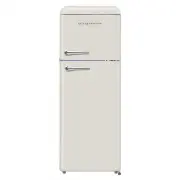 Frigidaire EFR756-CREAM
User Manual
Frigidaire EFR756-CREAM
User Manual
-
 Frigidaire FFET1022UB
User Manual
Frigidaire FFET1022UB
User Manual
-
Frigidaire FFET1022UB
Manual
-
 Frigidaire FFET1022UV
User Manual
Frigidaire FFET1022UV
User Manual
-
Frigidaire FFET1022UV
Manual
-
Frigidaire FFET1022UV
Installation Manual
-
Frigidaire FFET1022UW
User Manual
-
Frigidaire FFET1022UW
Manual
-
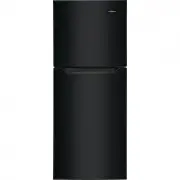 Frigidaire FFET1222UB
Manual
Frigidaire FFET1222UB
Manual
-
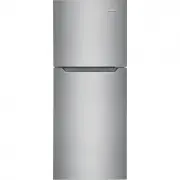 Frigidaire FFET1222UV
User Manual
Frigidaire FFET1222UV
User Manual
-
Frigidaire FFET1222UV
Manual
-
 Frigidaire FFET1222UW
User Manual
Frigidaire FFET1222UW
User Manual
-
 Frigidaire FFHT1425VB
User Manual
Frigidaire FFHT1425VB
User Manual
-
Frigidaire FFHT1425VB
Installation Manual
-
Frigidaire FFHT1425VB
Manual
-
 Frigidaire FFHT1425VV
User Manual
Frigidaire FFHT1425VV
User Manual
-
Frigidaire FFHT1425VV
Installation Manual